Getting Started
Welcome to Repay
- We are honoured that when you think of unique designs you come to us. We want to appreciate you for being a loyal customer and for purchasing this theme. When you’re looking for something truly special. We hope that we’ll continue to be the place you think of first. We value the trust you have put in our products and services. It’s always a pleasure serving you and we certainly look forward to doing that in the future.
-
This documentation is intended to assist you with each step of customization. Please read the documentation thoroughly to understand how this Theme was created and how to edit it properly.

Repay
If you are unable to find your answer here in our documentation, we encourage you to contact our support team.
Theme Requirements
To use Repay, make sure your hosting provider is running the following software:
- WordPress 4.8 or higher.
- My SQL 5.6 or greater.
- PHP 5.6 or greater. Wordpress officially suggests using PHP 7.2.
Recommended PHP Limits
Many issues that you may run into such as: white screen, demo content fails when importing, empty page content and other similar issues are all related to low PHP configuration limits. The solution is to increase the PHP limits. You can do this on your own, or contact your web host and ask them to increase those limits to a minimum as follows:
- max_execution_time 300
- memory_limit 128M
- post_max_size 64M
- upload_max_filesize 32M
- max_input_time = 60
- max_input_vars = 300
Also consider upgrading your PHP Version to the latest version, the newer the better.
WordPress Information
To install this theme you must have a working version of WordPress already installed. If you need help installing WordPress, follow the instructions in WordPress Codex or you can watch the useful links below for WordPress information.
- WordPress Codex – general info about WordPress and how to install on your server
- First Steps With WordPress – general information that covers a wide variety of topics
- FAQ New To WordPress – the most popular FAQ’s regarding WordPress
What’s Included
When you purchase our theme from Themeforest, you need to download the Repay files from your Themeforest account. Navigate to your downloads tab on Themeforest and find Repay. Click the download button to see the two options. The Main Files contain everything, the Installable WordPress Theme is just the installable WordPress theme file. Below is a full list of everything that is included when you download the main files, along with a brief description of each item.
- Installable WordPress file only. You can upload this file when you install the theme
- All files and documentation (full zip folder). You will need to extract and locate the installable WordPress file to upload when you install the theme.
Installation
Theme Installation
- Download the theme zip file from your Envato account from ThemeForest.
- **All files & documentation **(full zip folder). You will need to extract and locate the installable WordPress file to upload when installing the theme
- Log in to your WordPress Dashboard (Ex: http://yourwebsite.com/wp-admin).
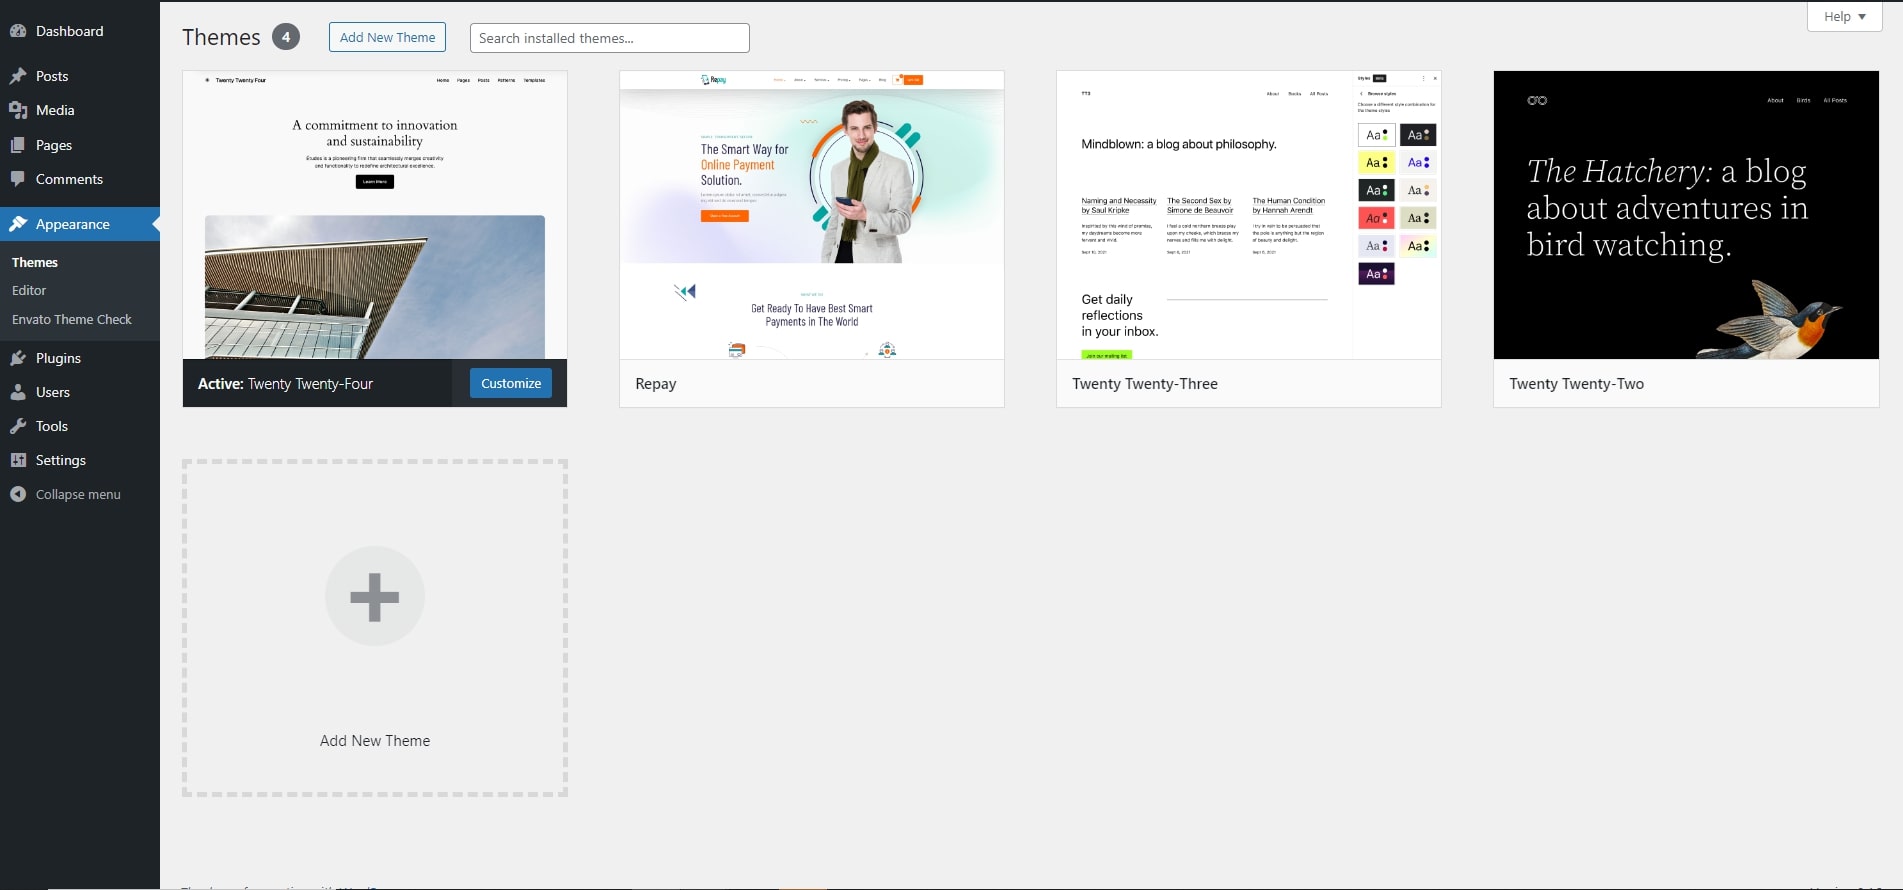
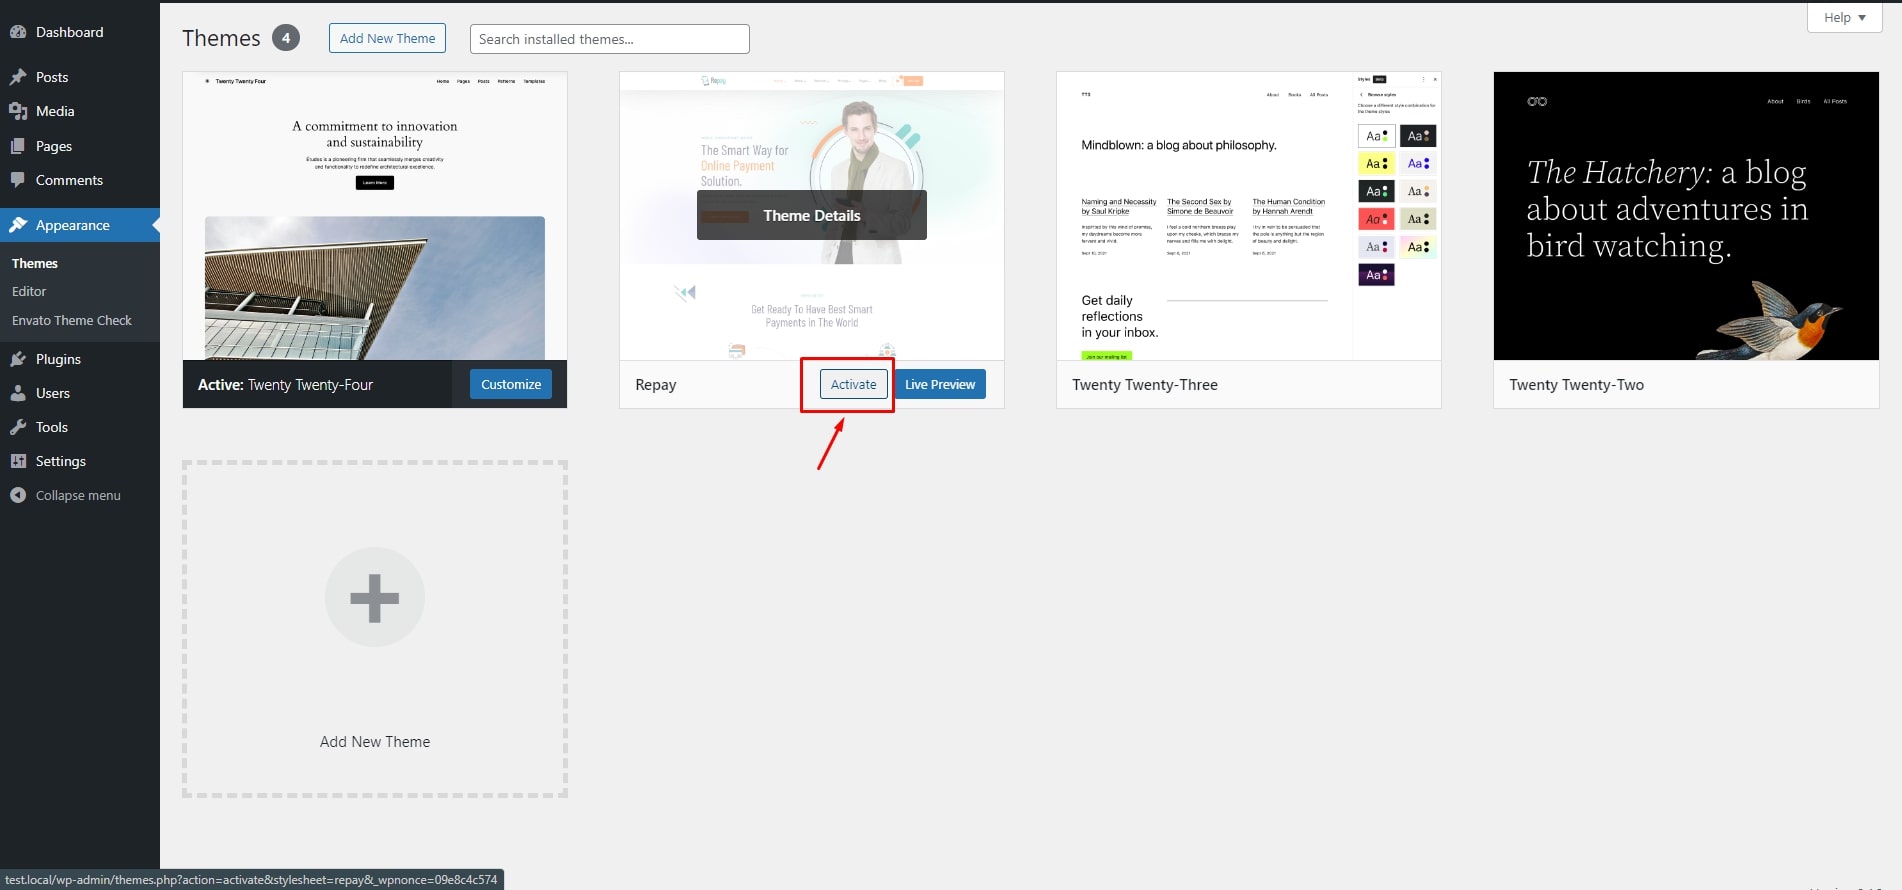
- Navigate to Appearance > Themes.
- Click on and then Click on .
- Click Add New, then click Upload Theme > Choose File.
- Navigate to the .zip file on your computer, then click Install Now.
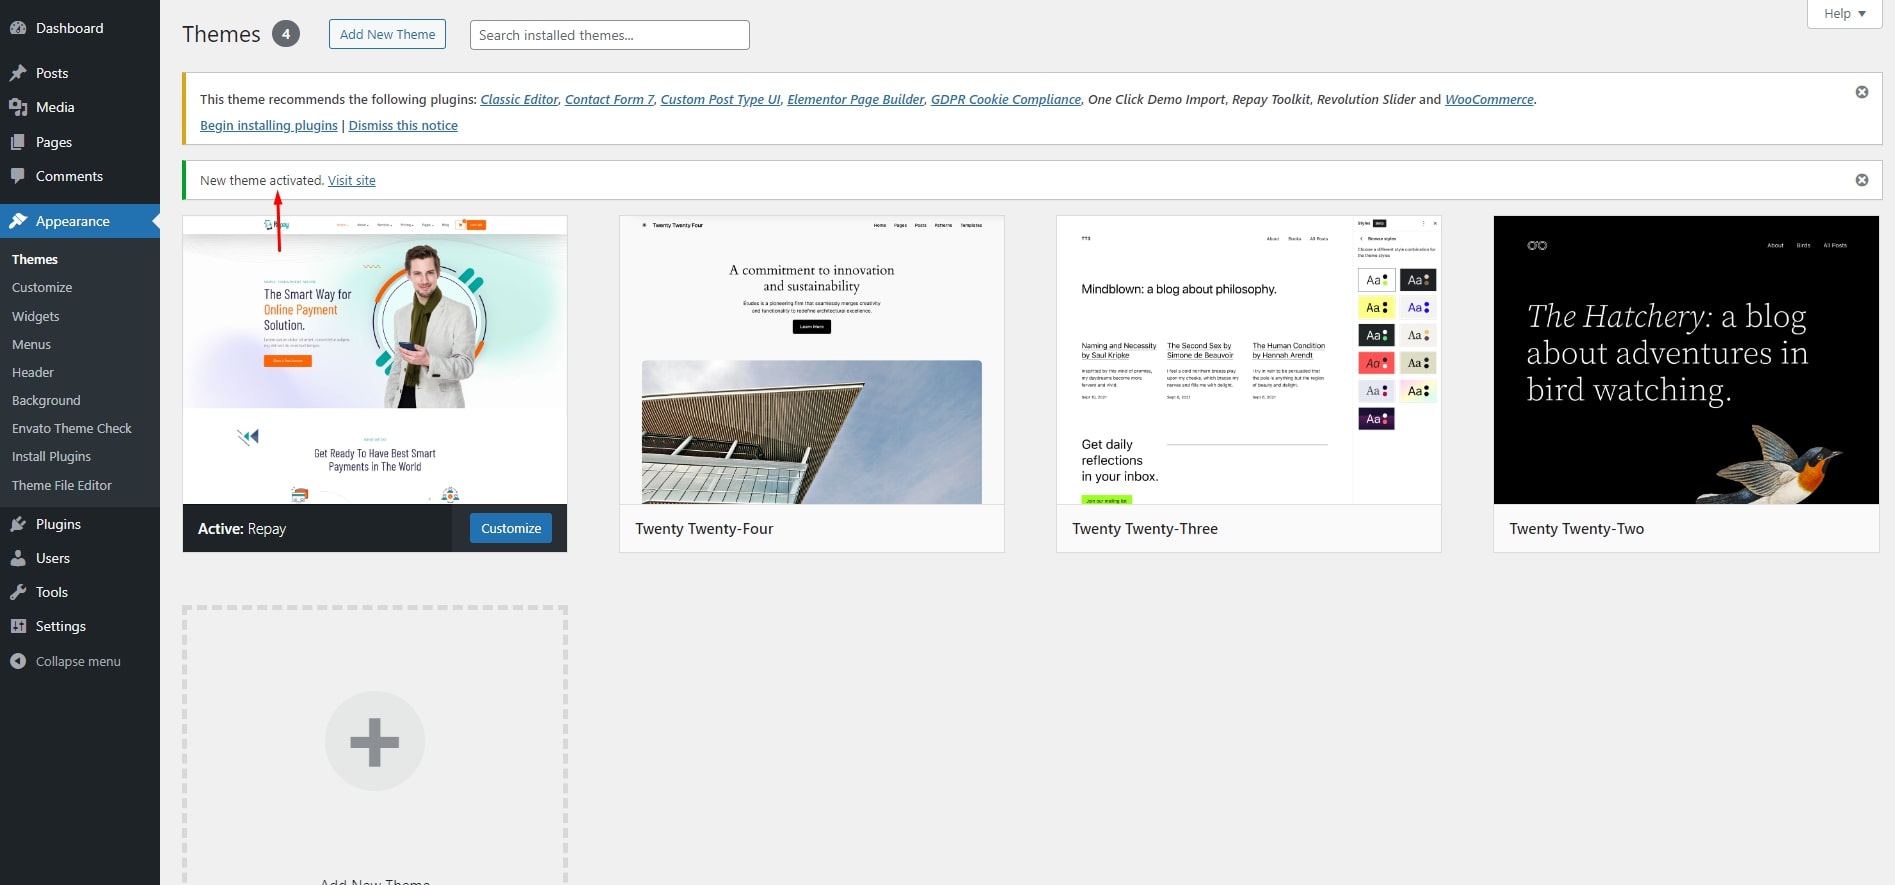
- When the installation completes, click Activate. You will be redirected to Themes page with Repay activated.
- Done

Install theme via FTP
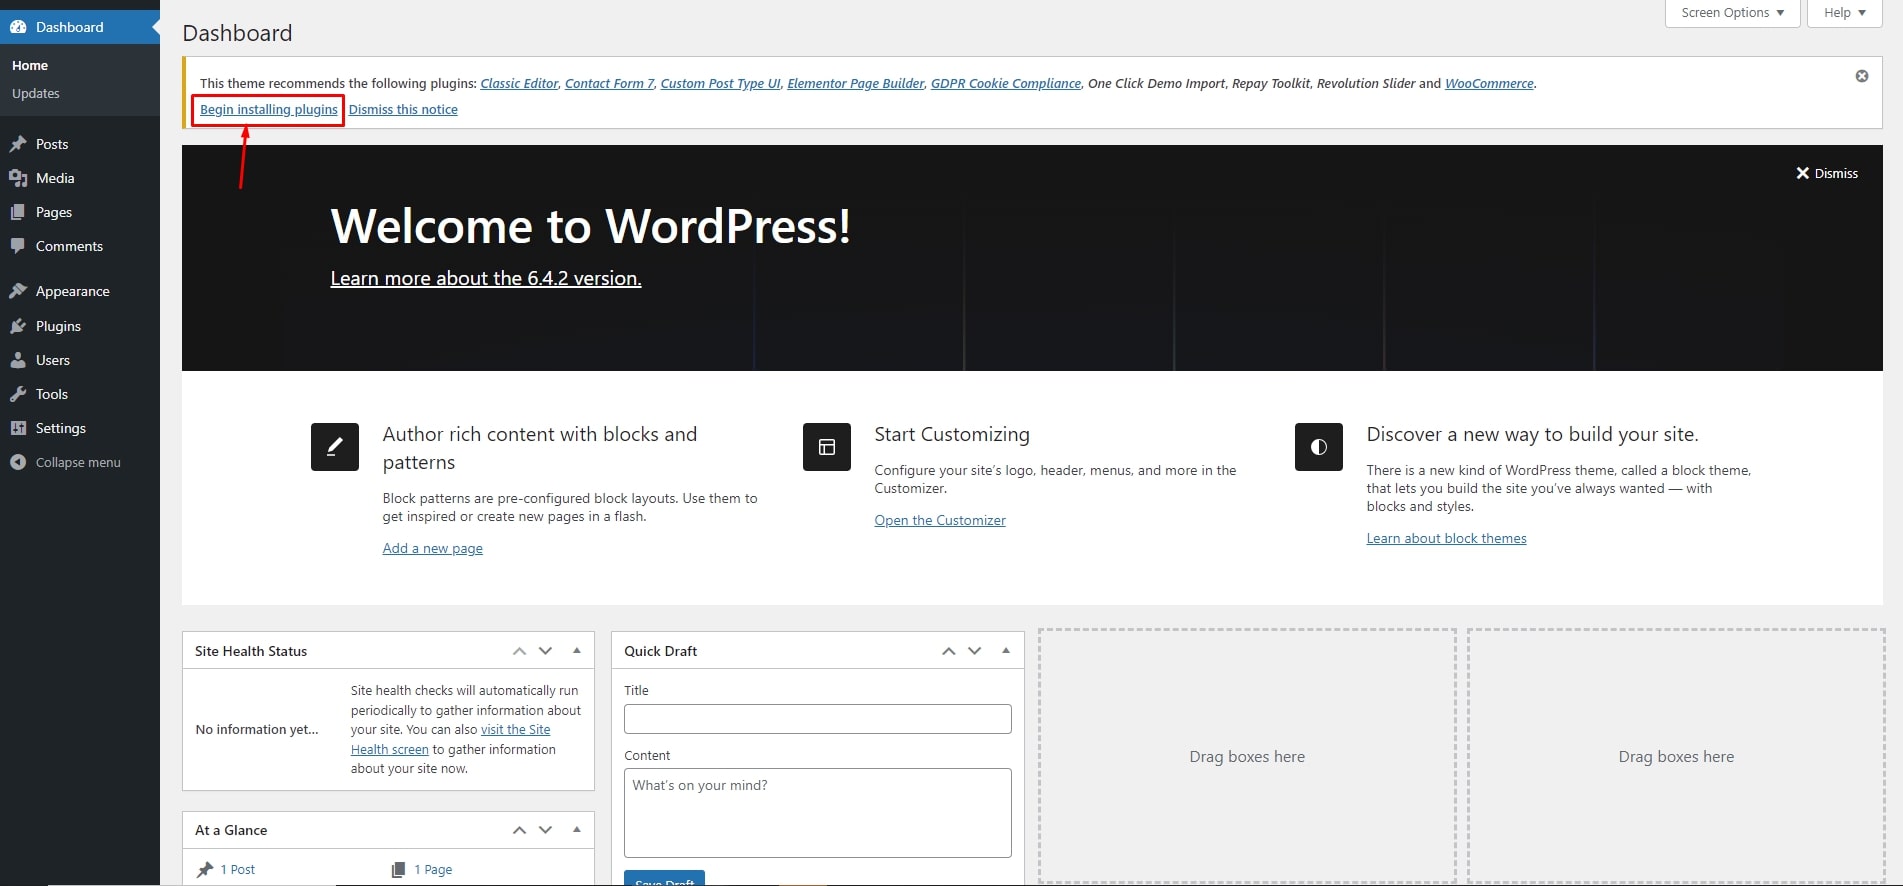
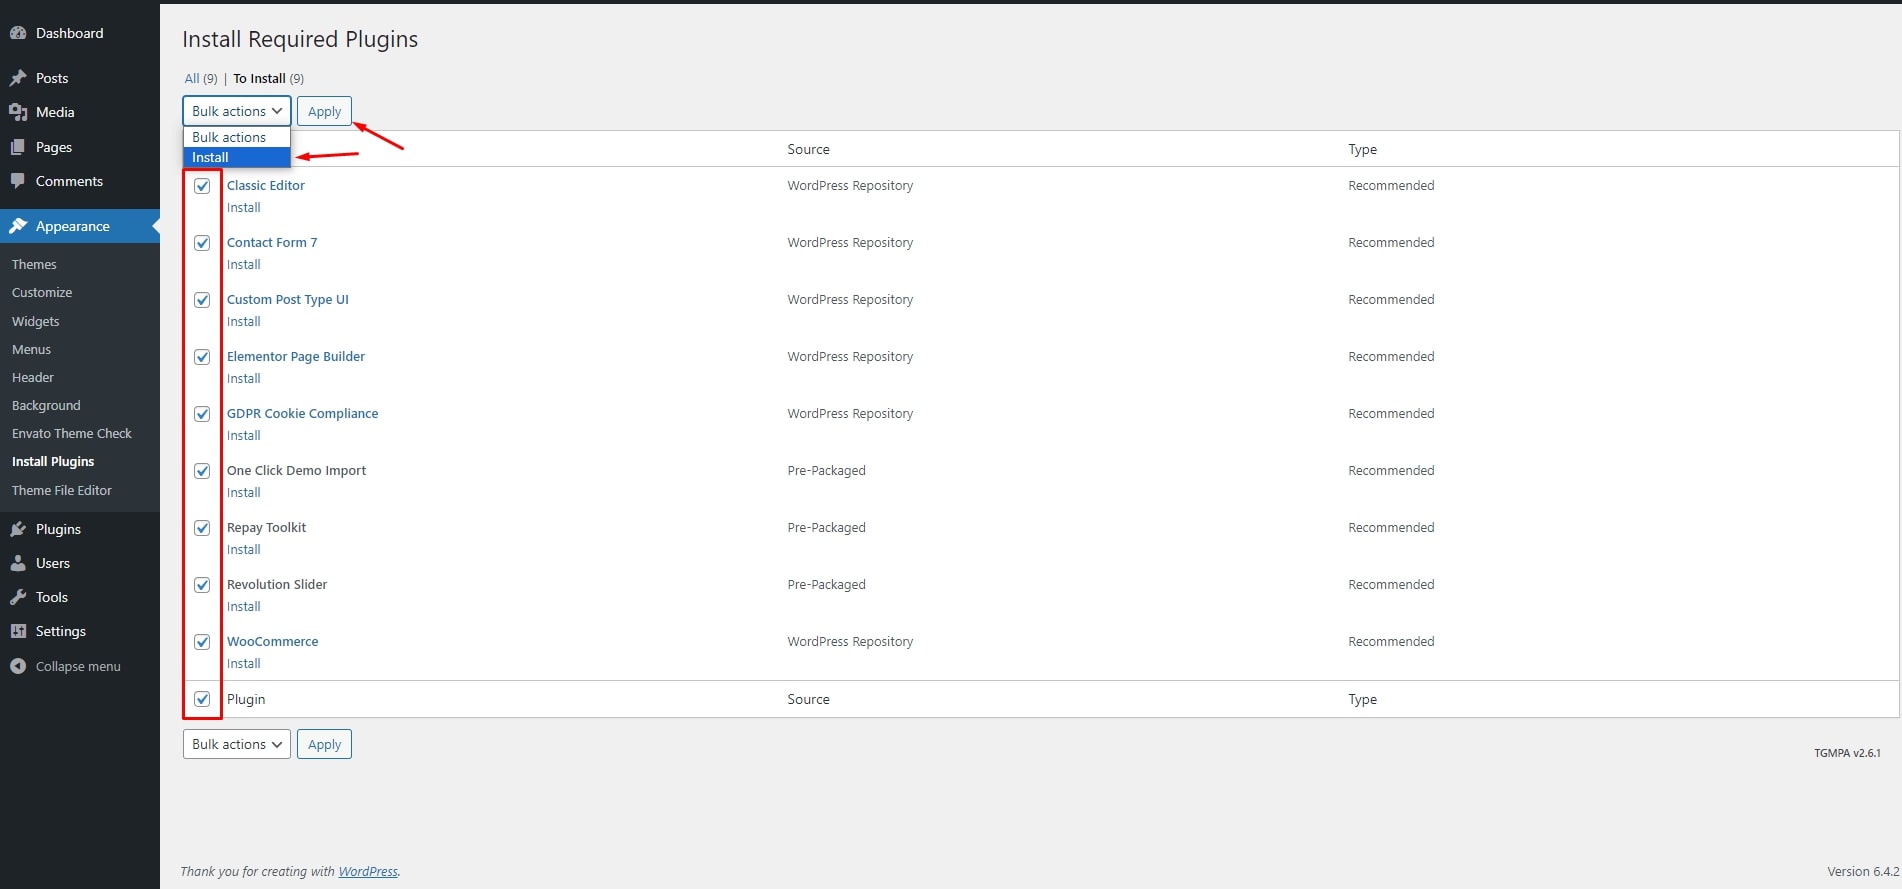
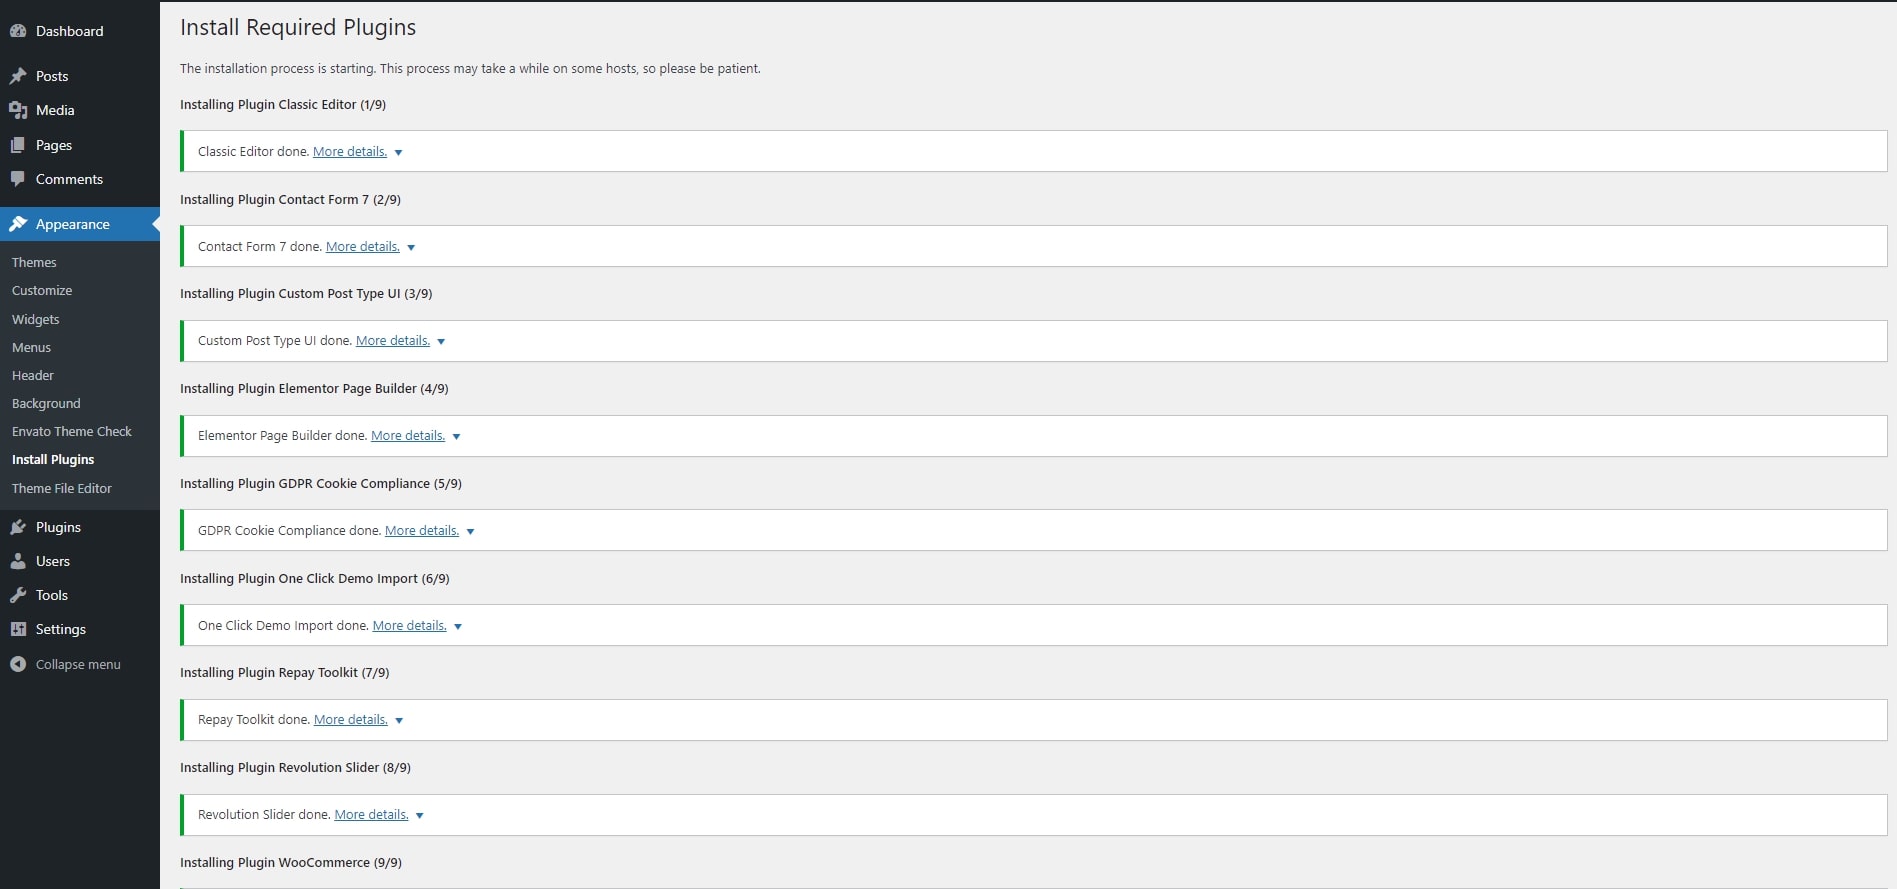
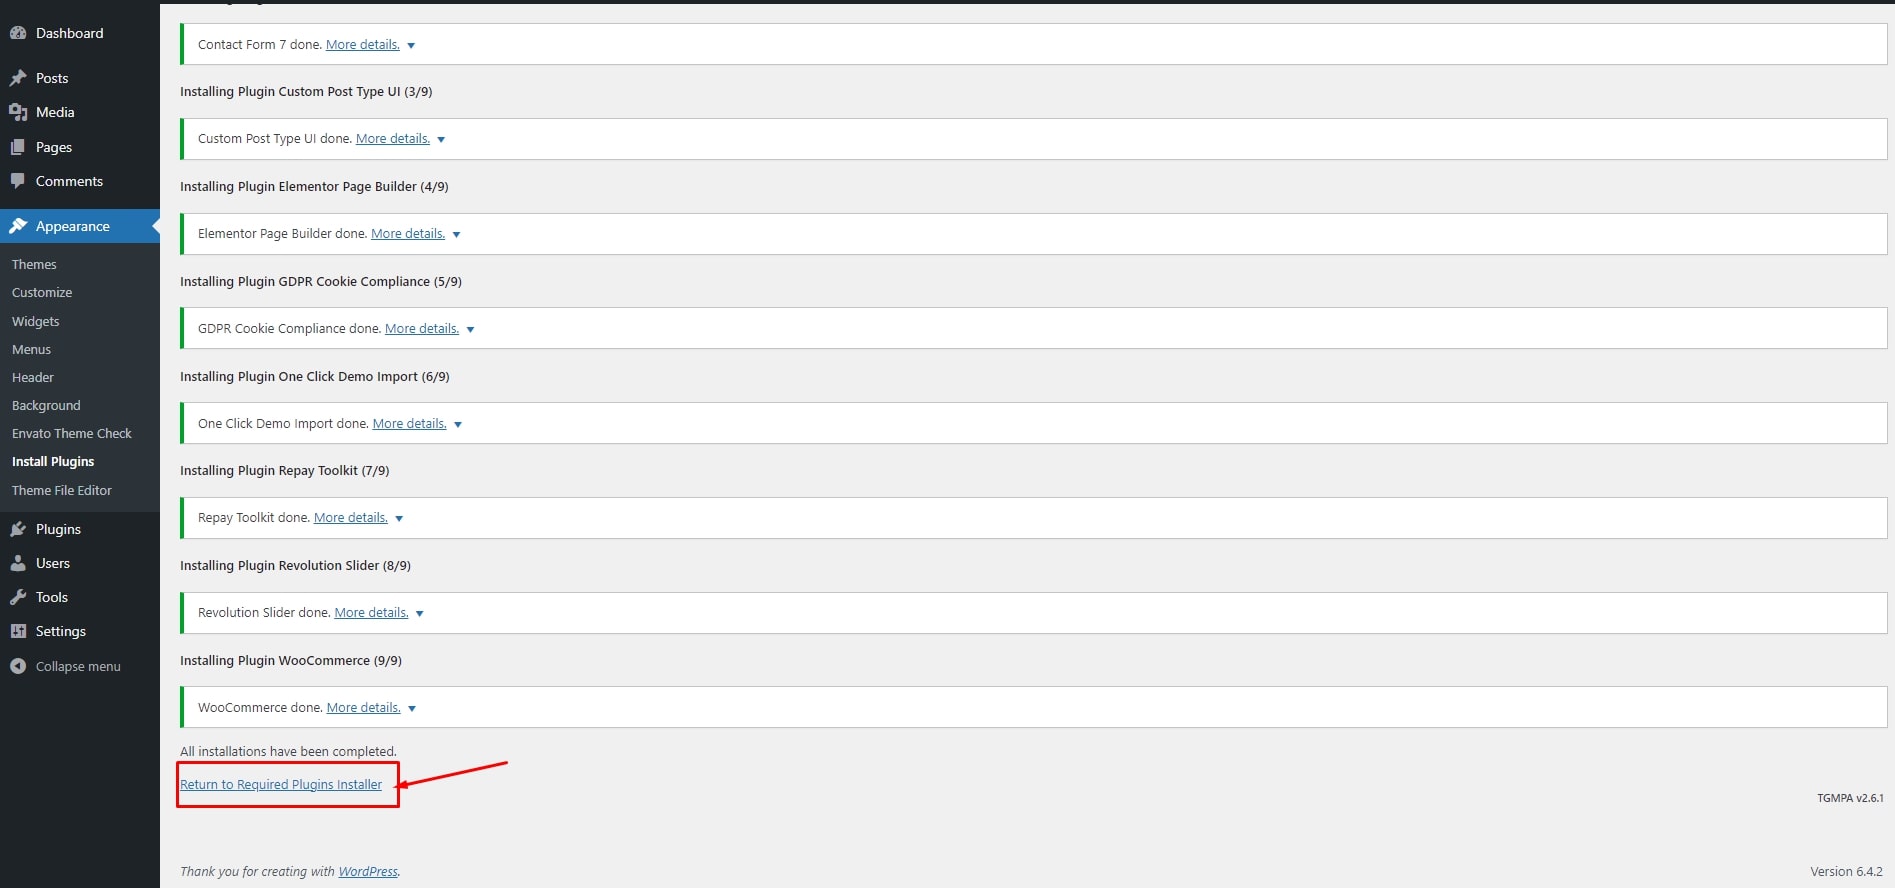
Plugin Installation
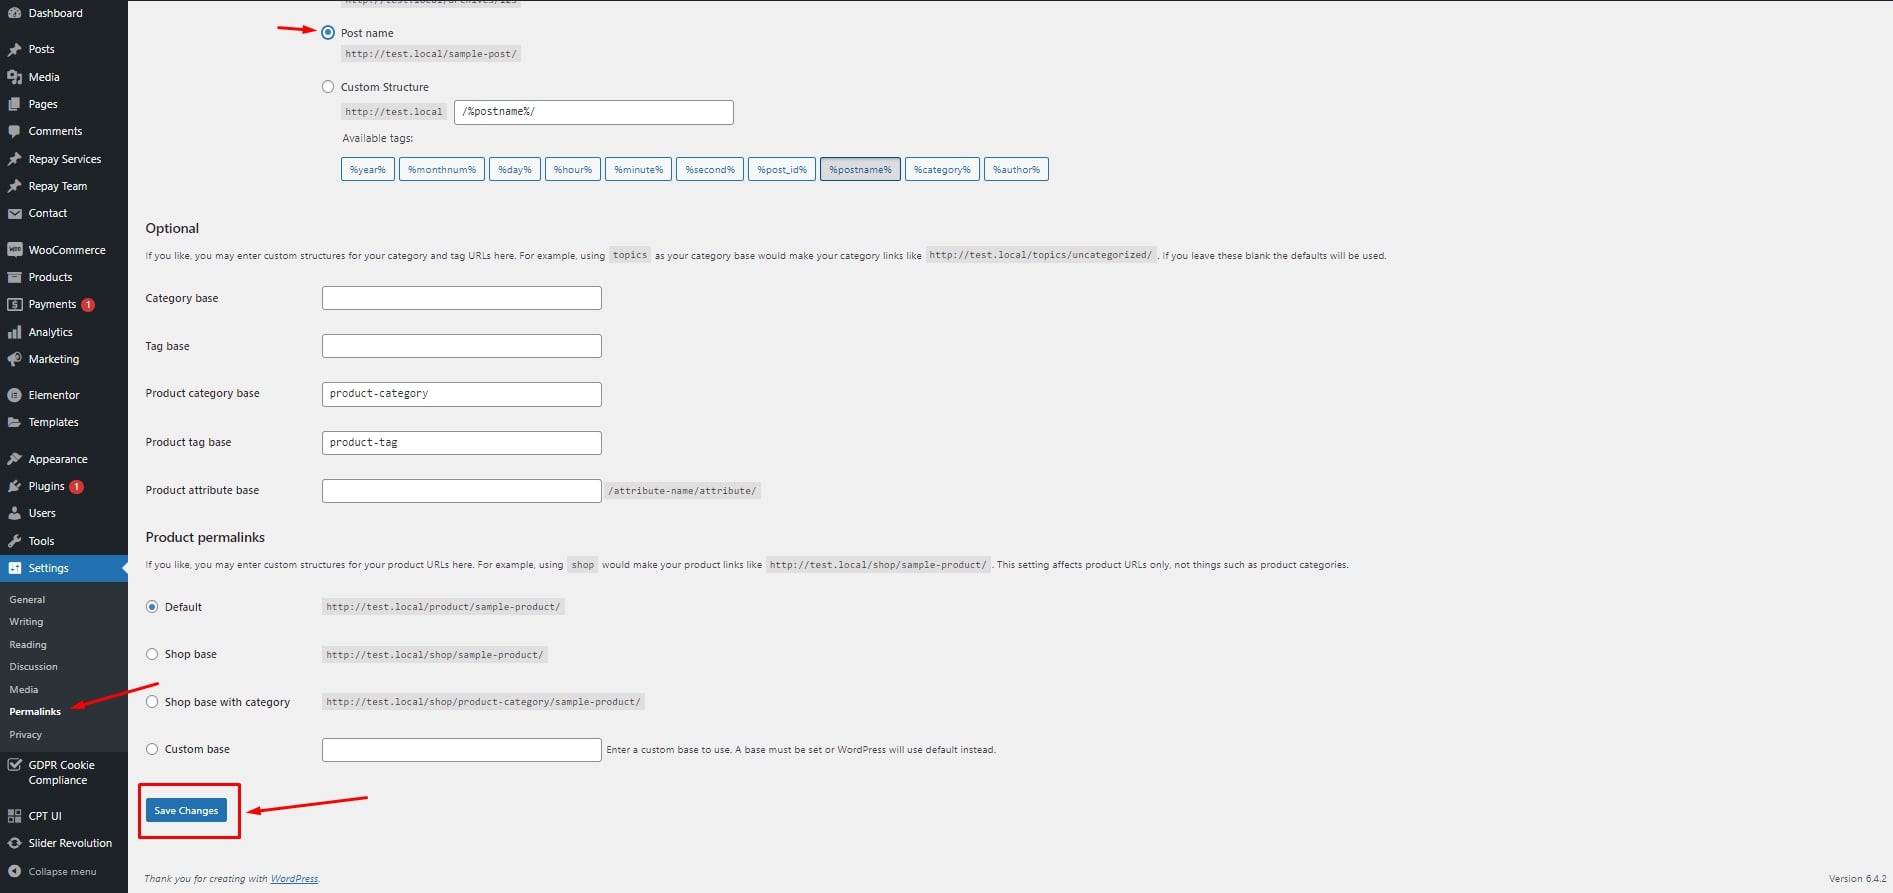
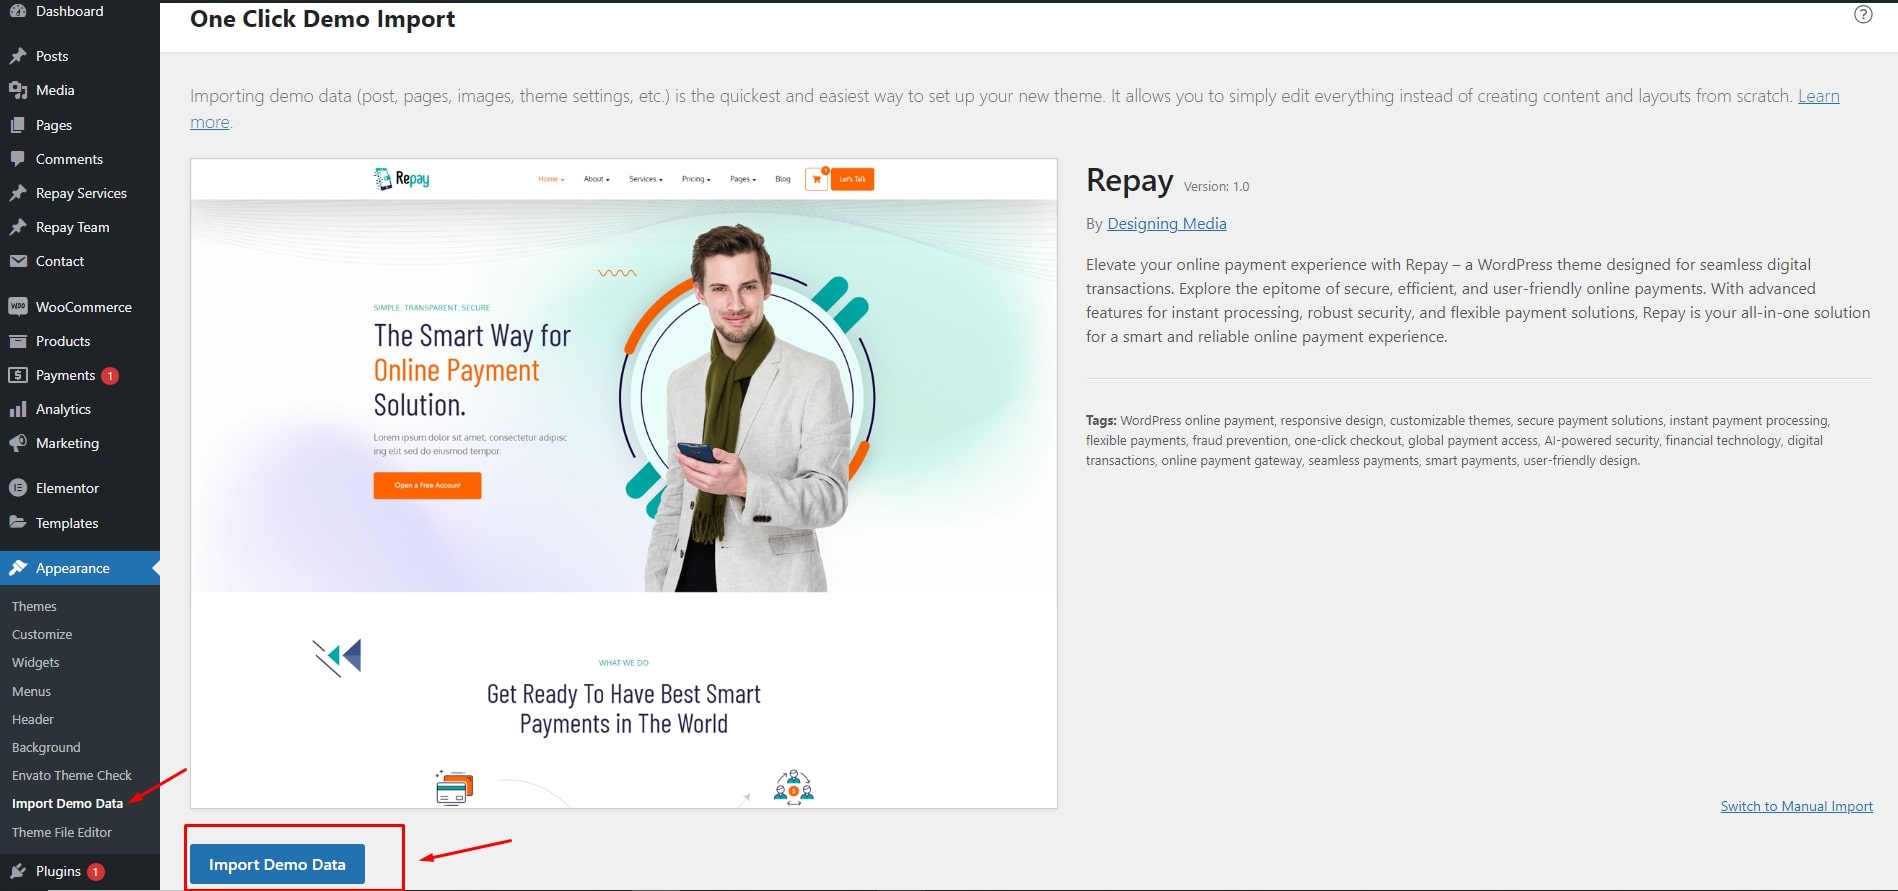
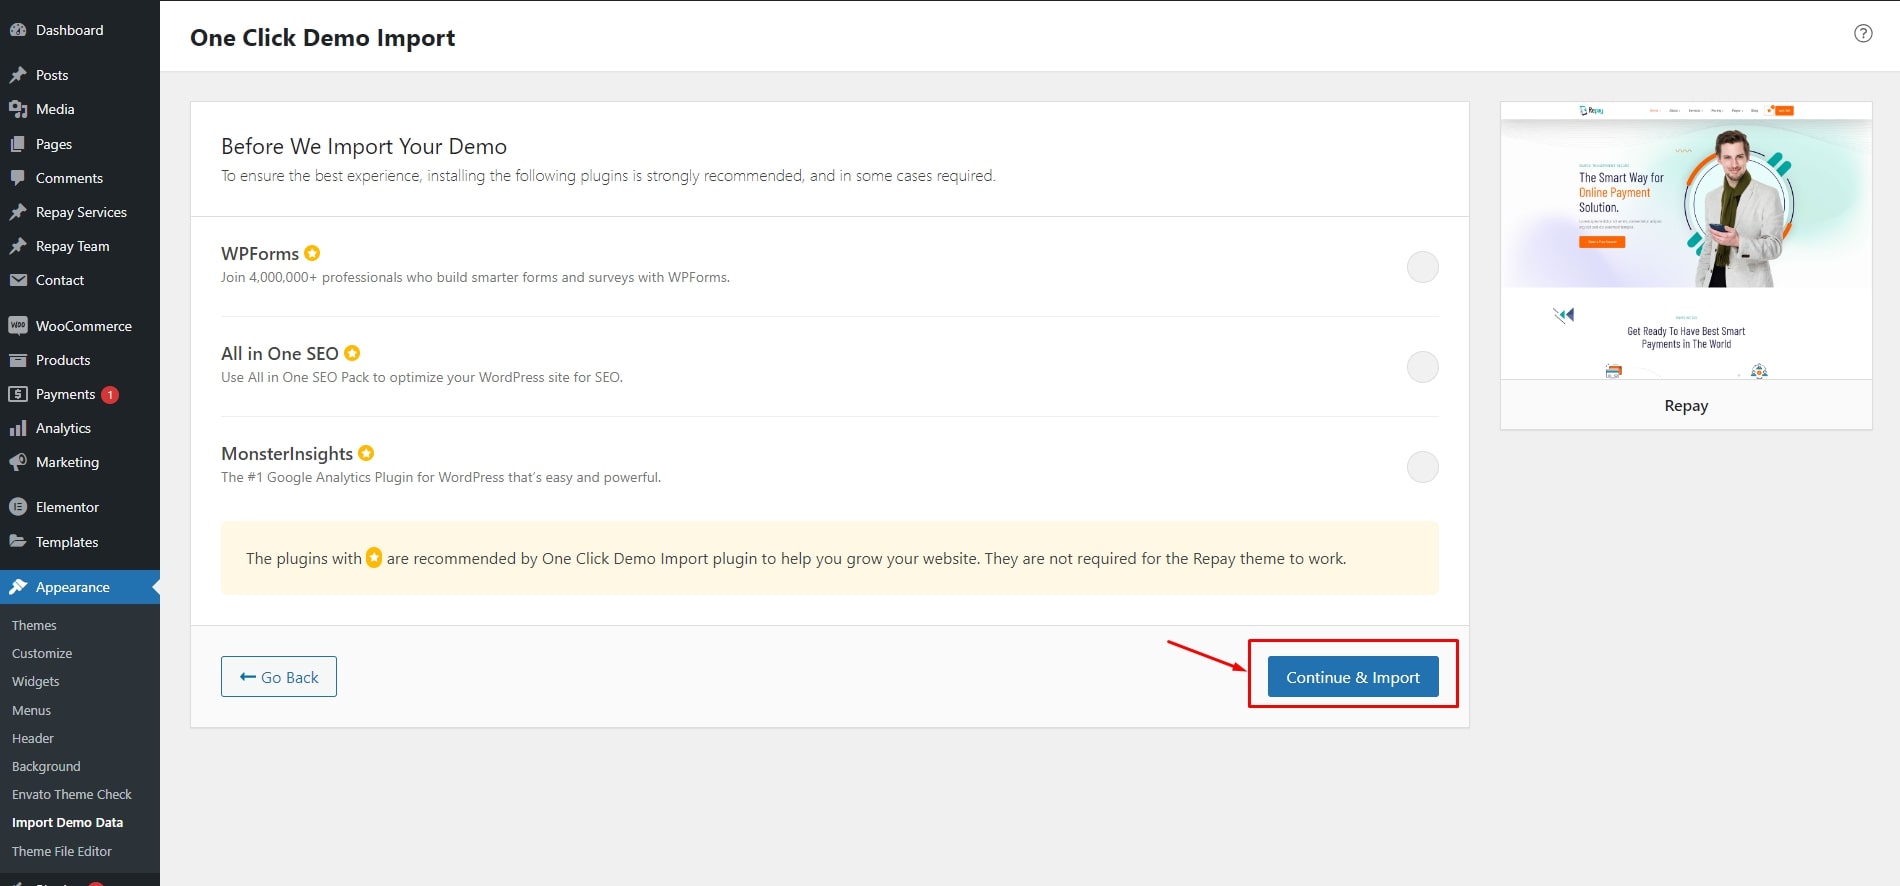
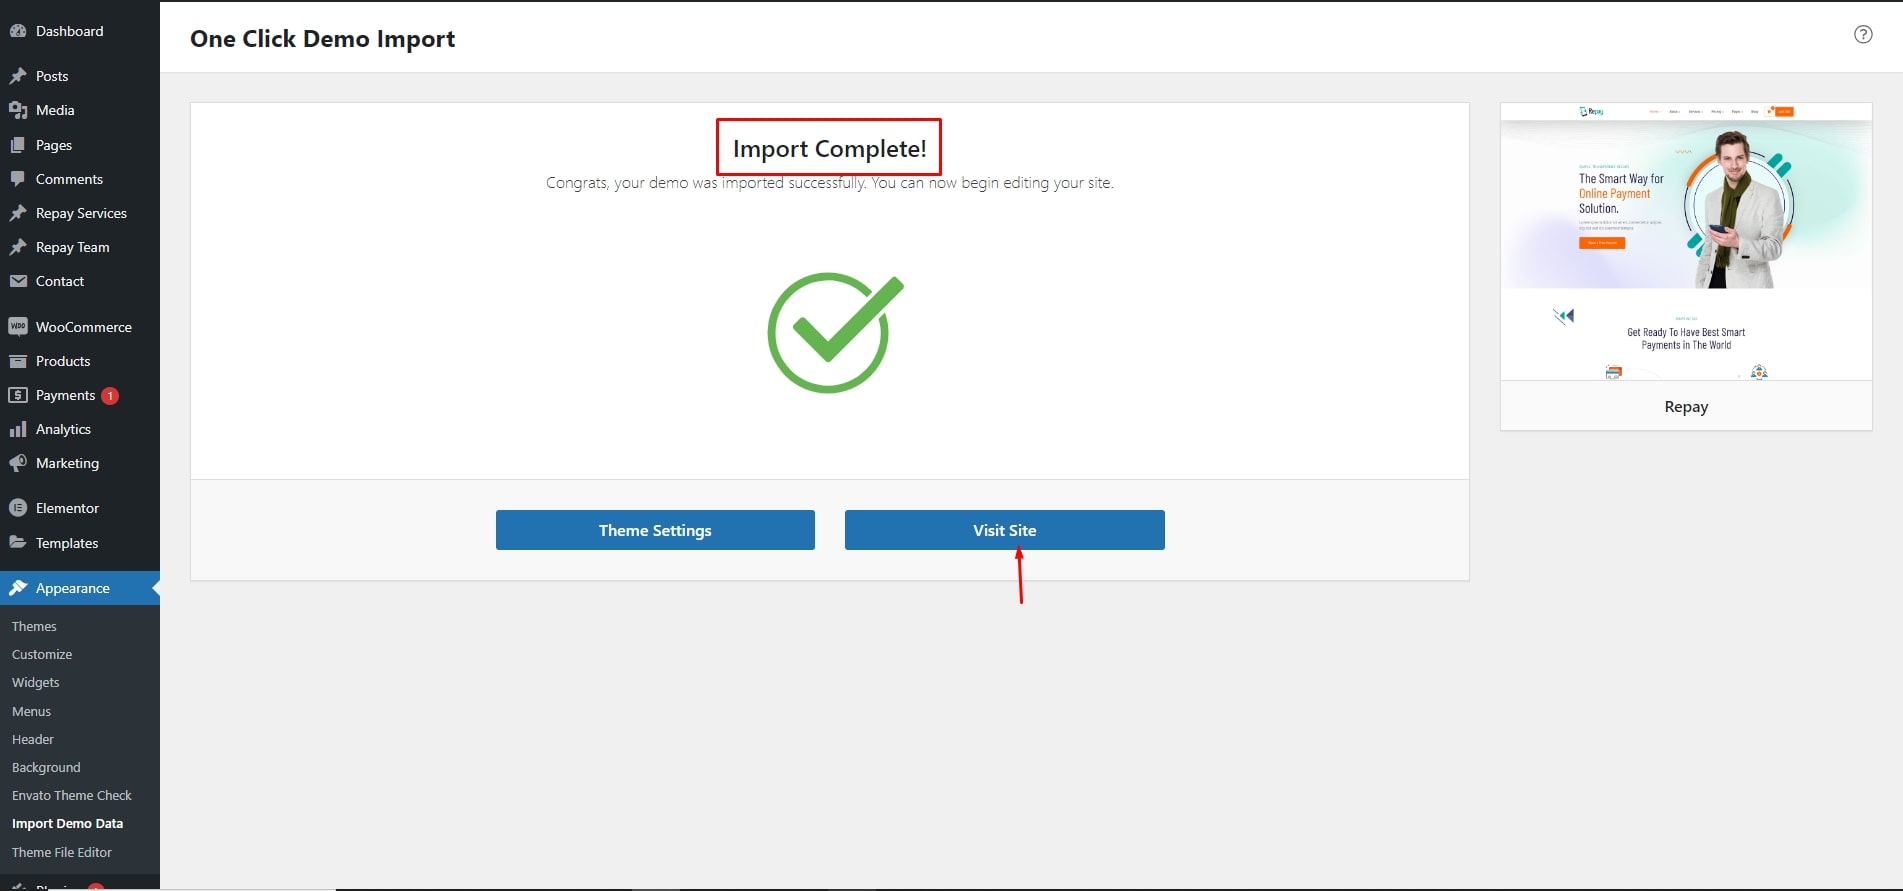
Demo Installation
Support
Repay Support System
- Answering questions about how to use the item
- Answering technical questions about the item
- Help with defects in the item
- Item updates to ensure ongoing compatibility and to resolve security vulnerabilities
- Theme customization and requests that require or involve custom coding Installation of the item
- Hosting, server environment, or software
- Support for compatibility with 3rd party plug-ins
- For more information on Item Support Policy please refer to the original document
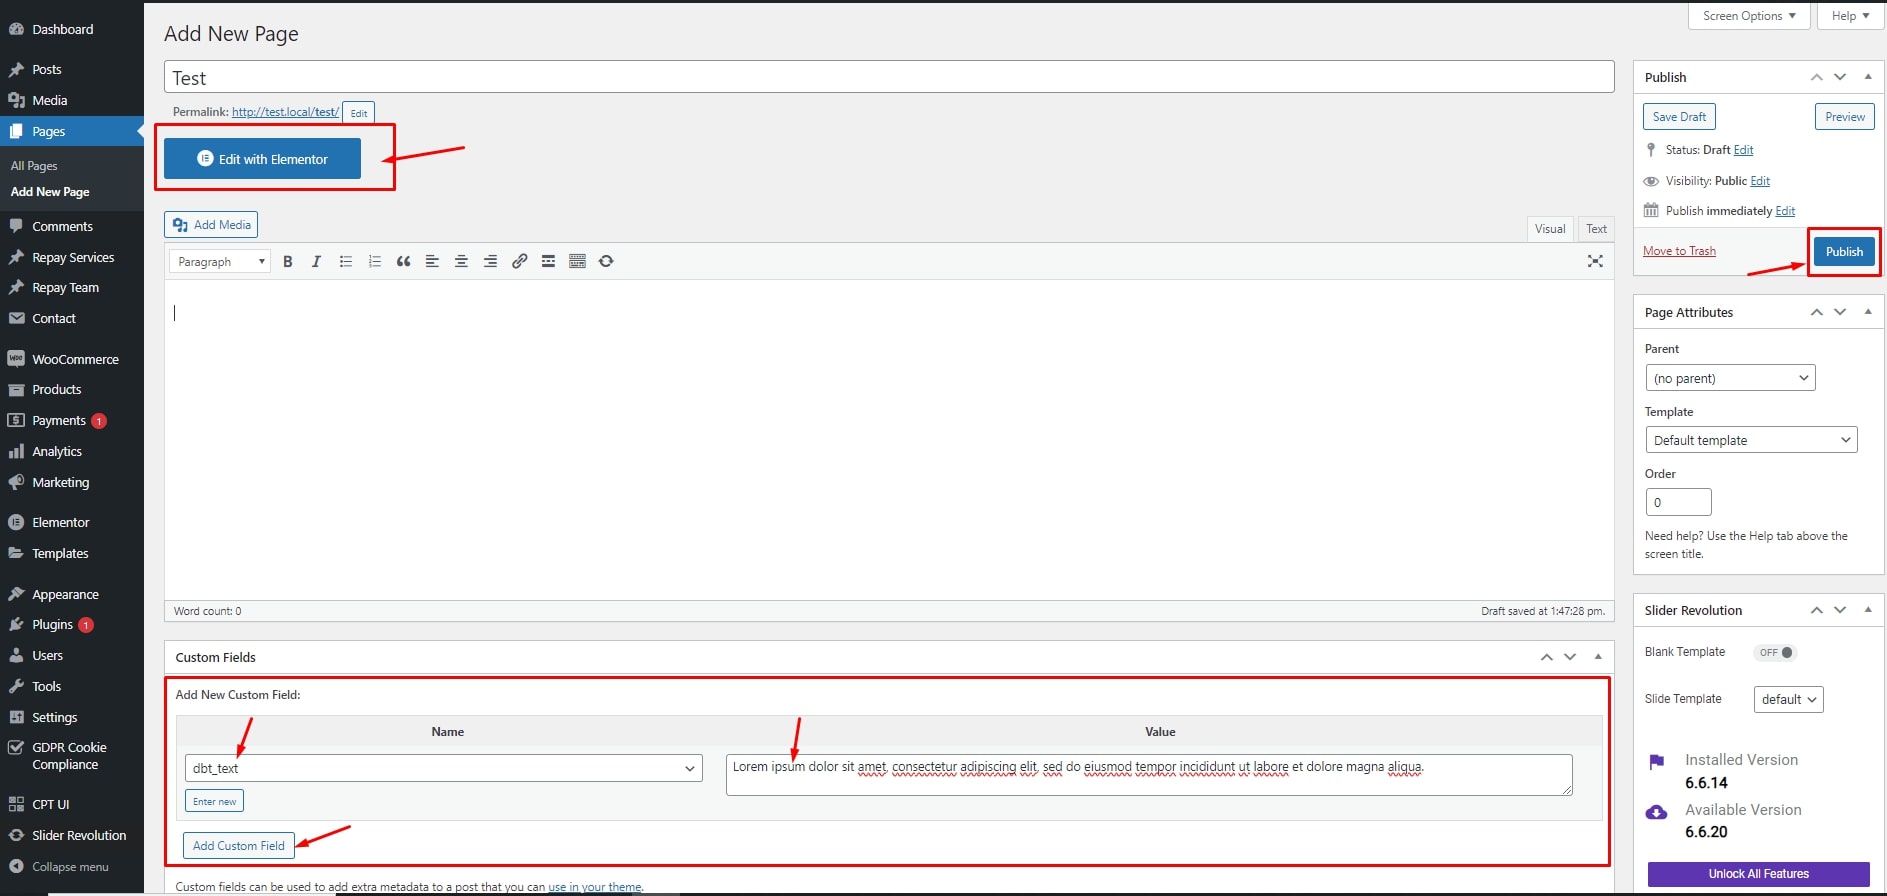
Page
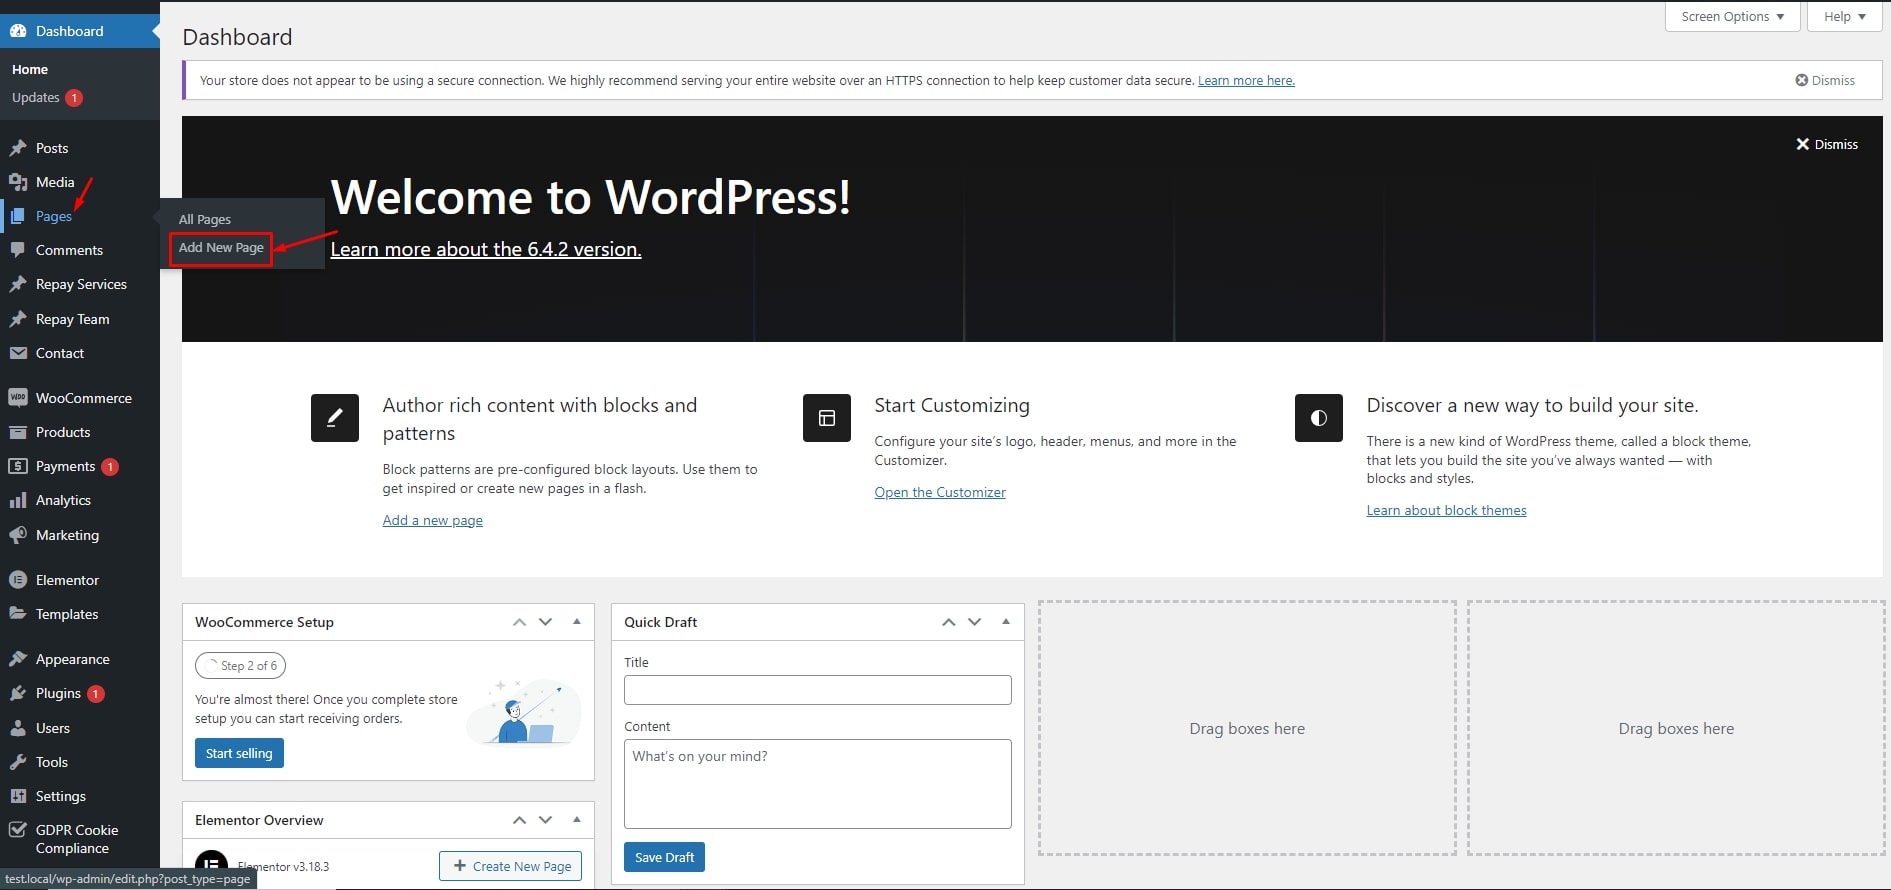
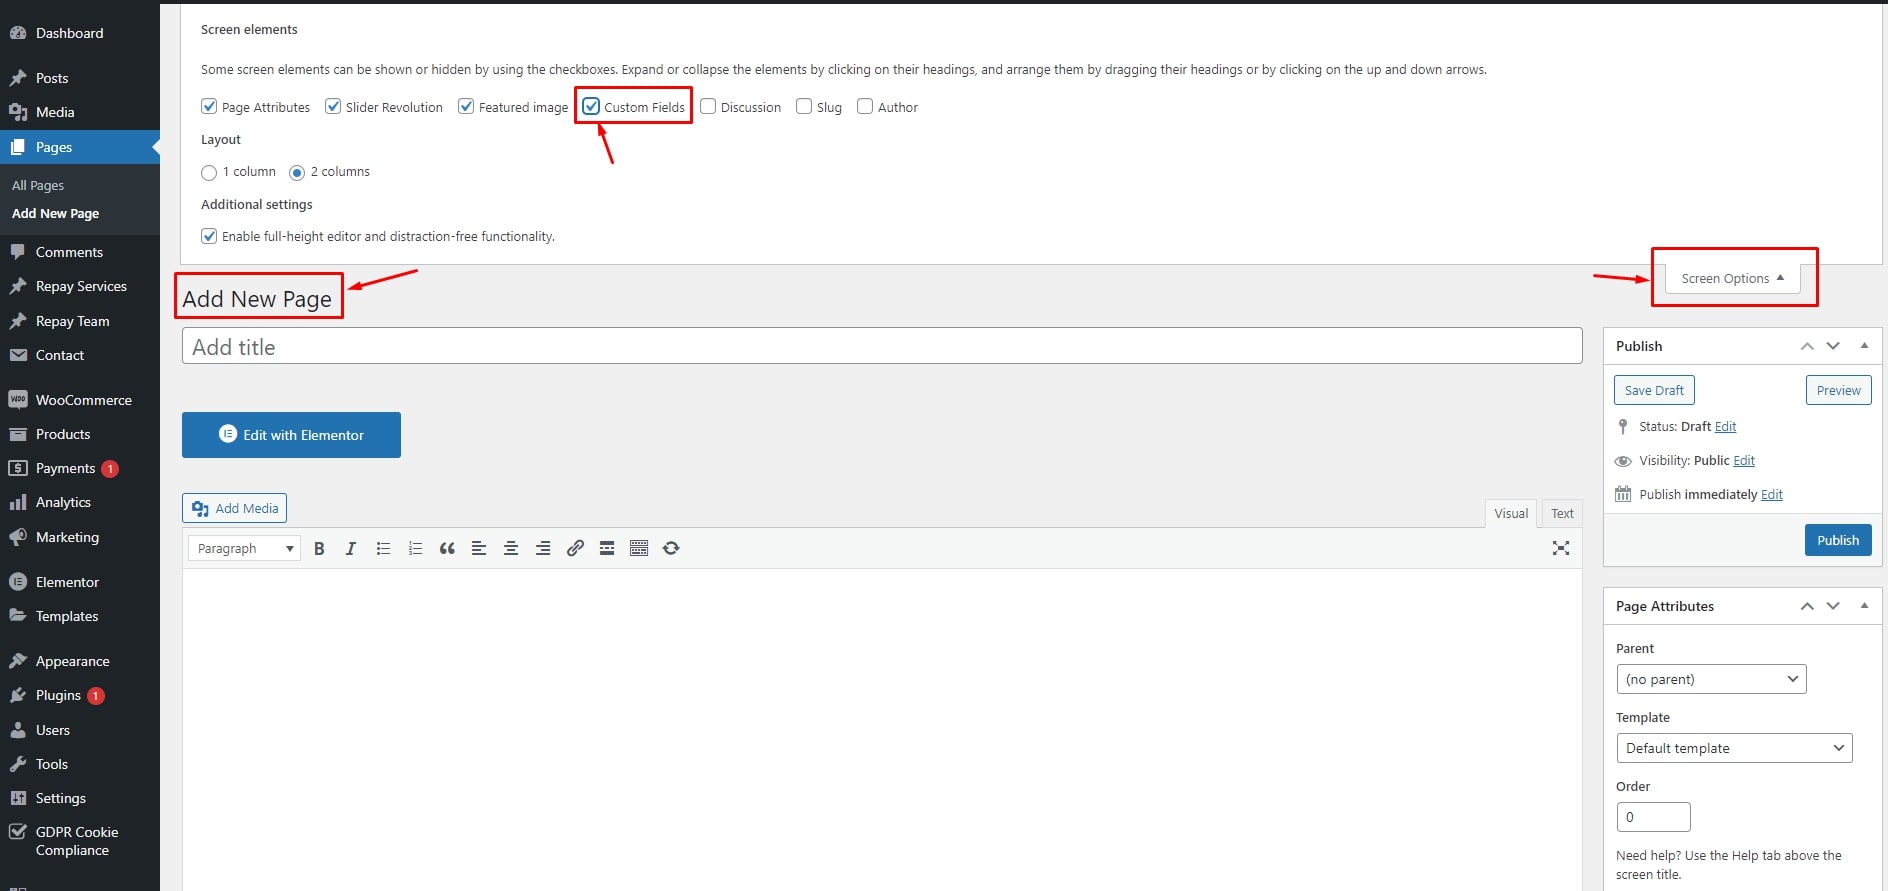
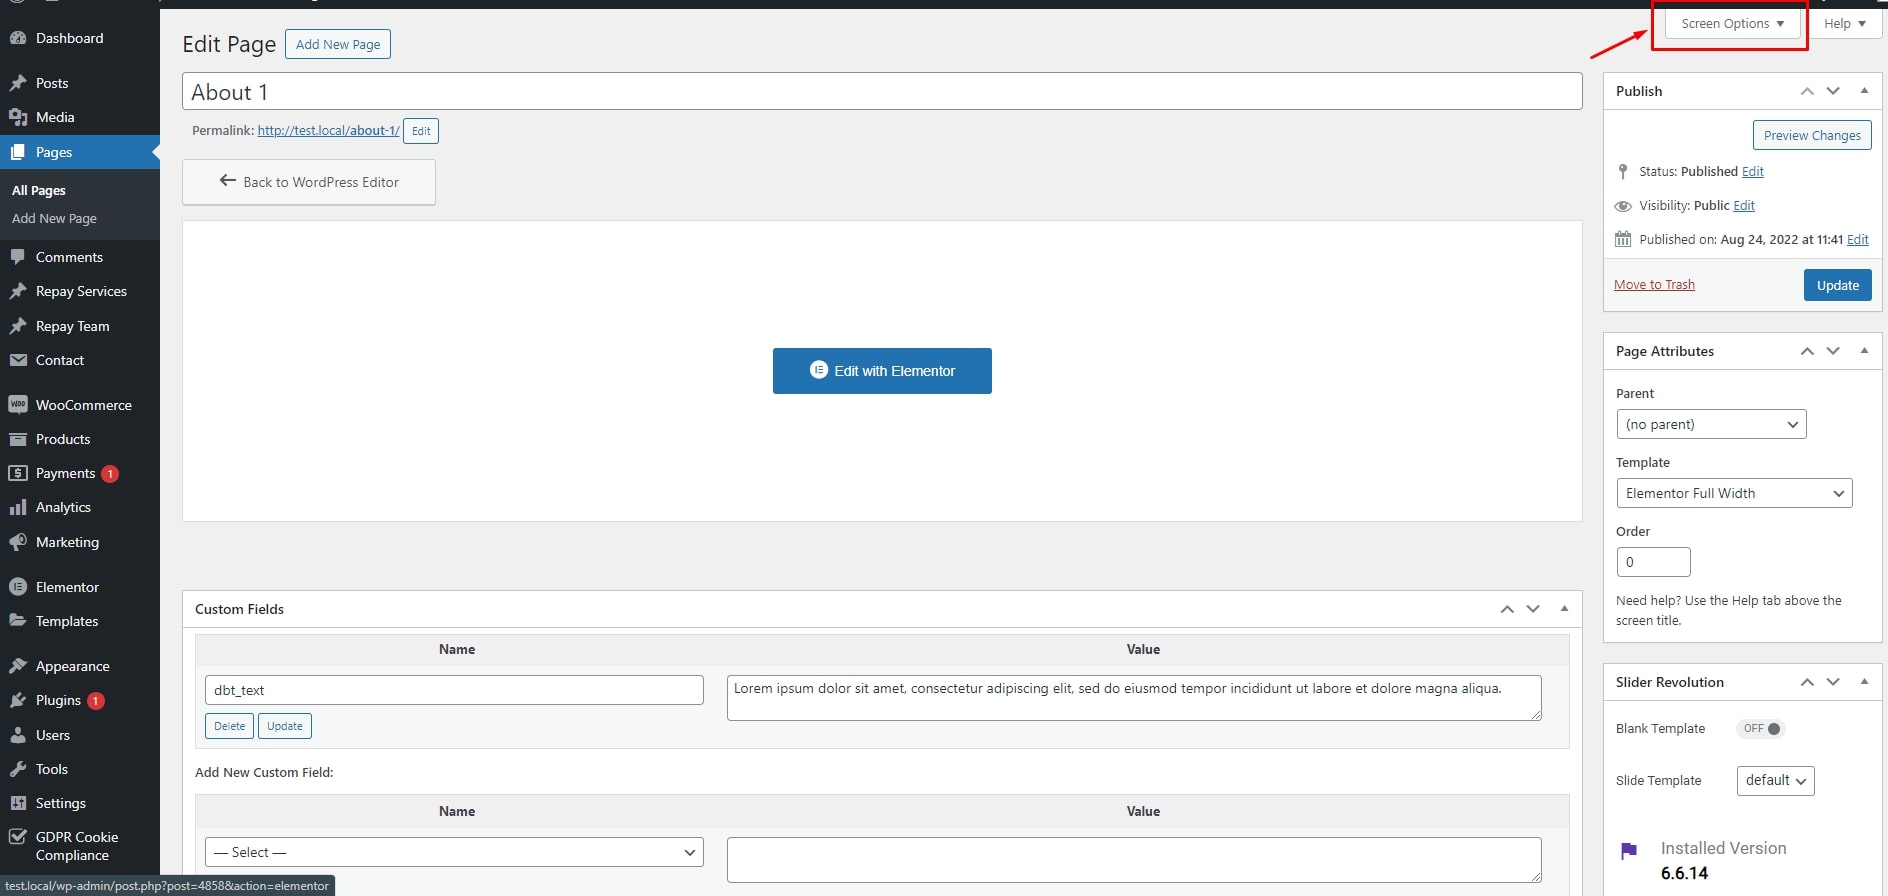
How to create a New Page
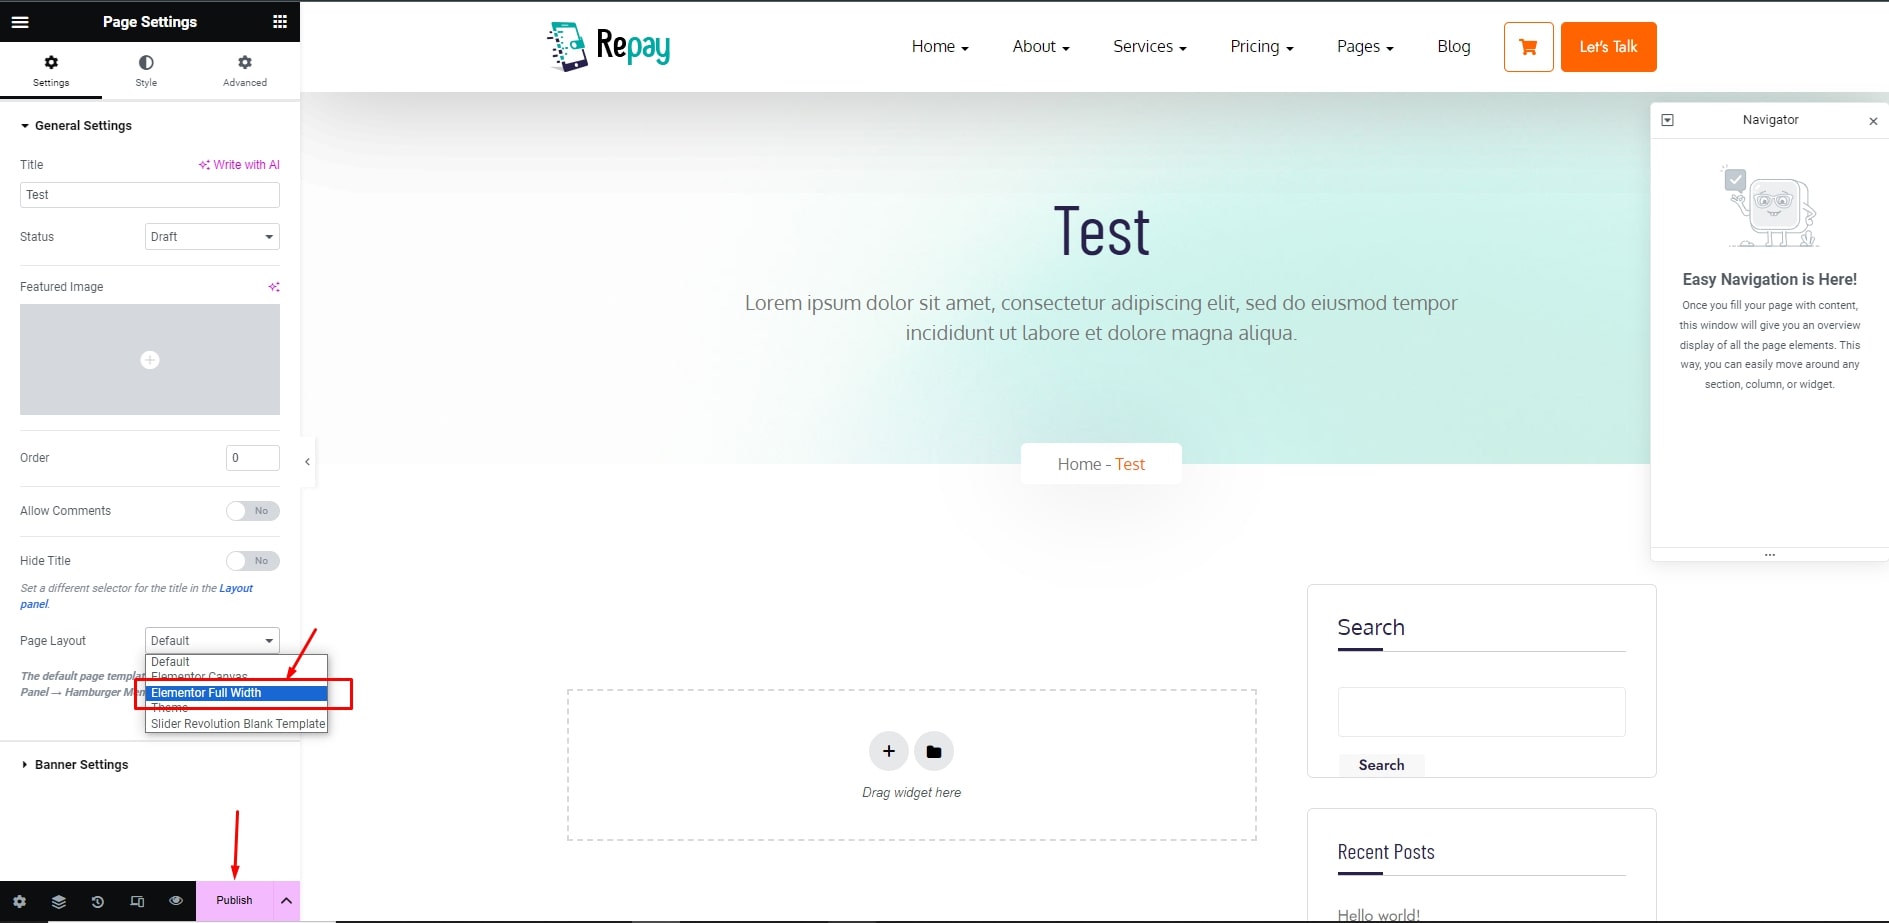
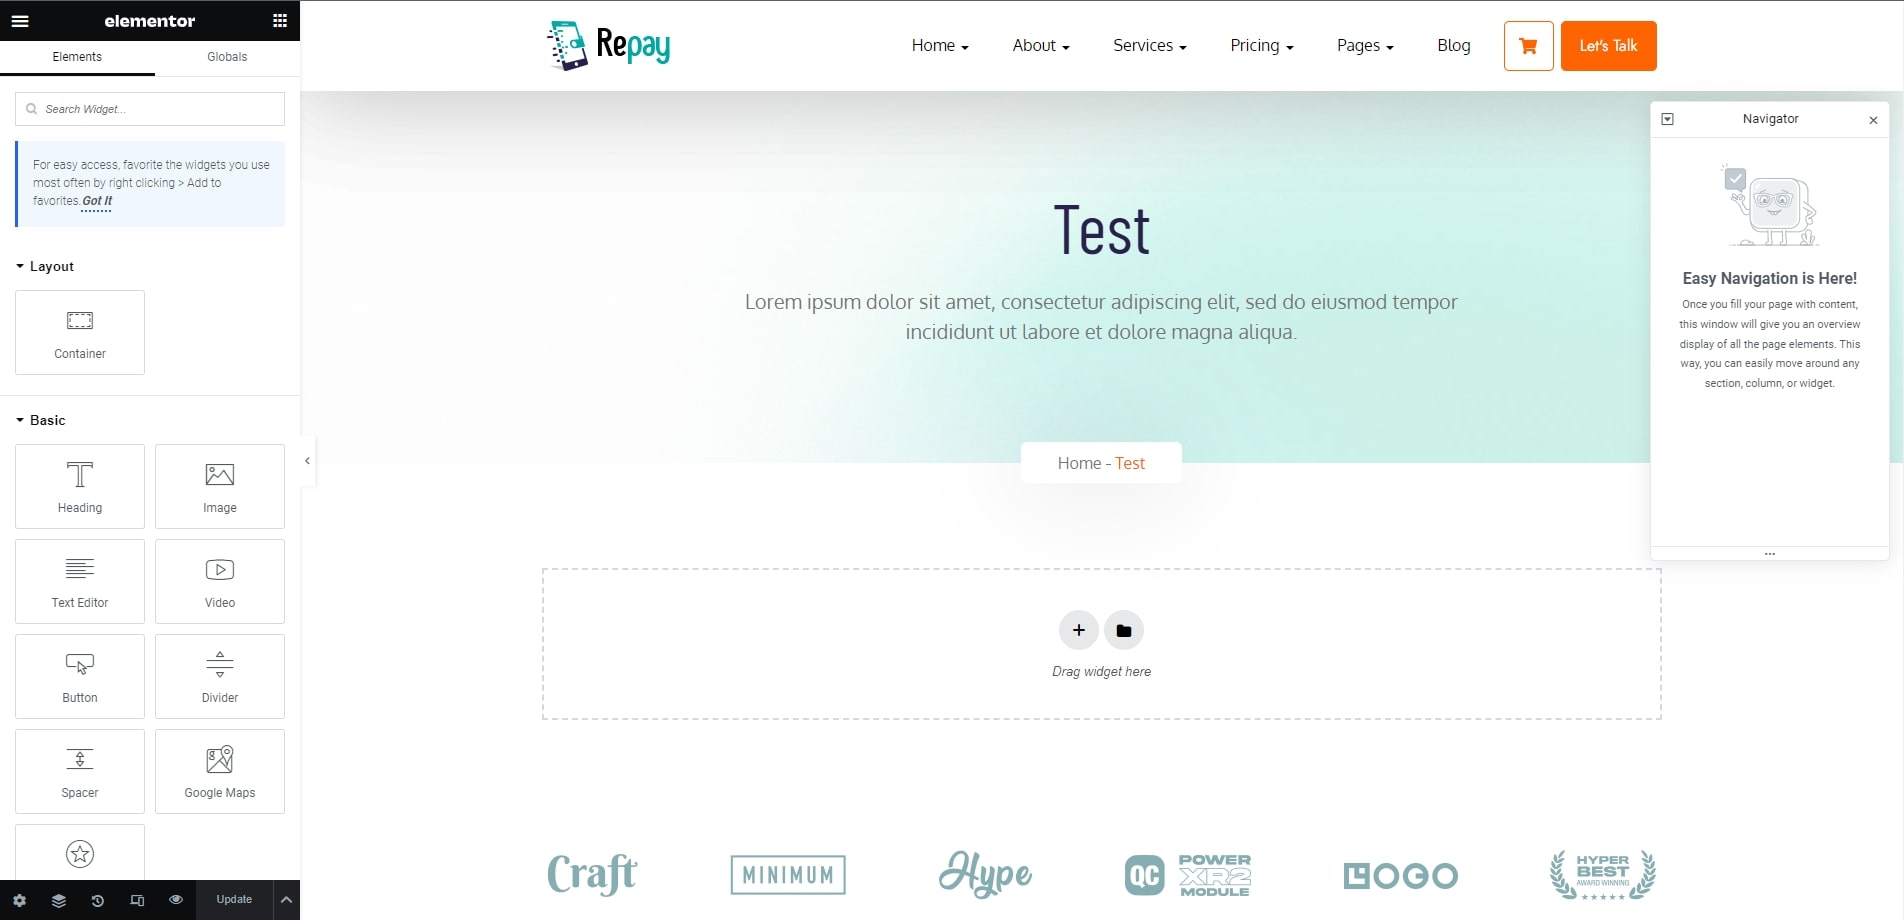
Use Elementor to Build Page
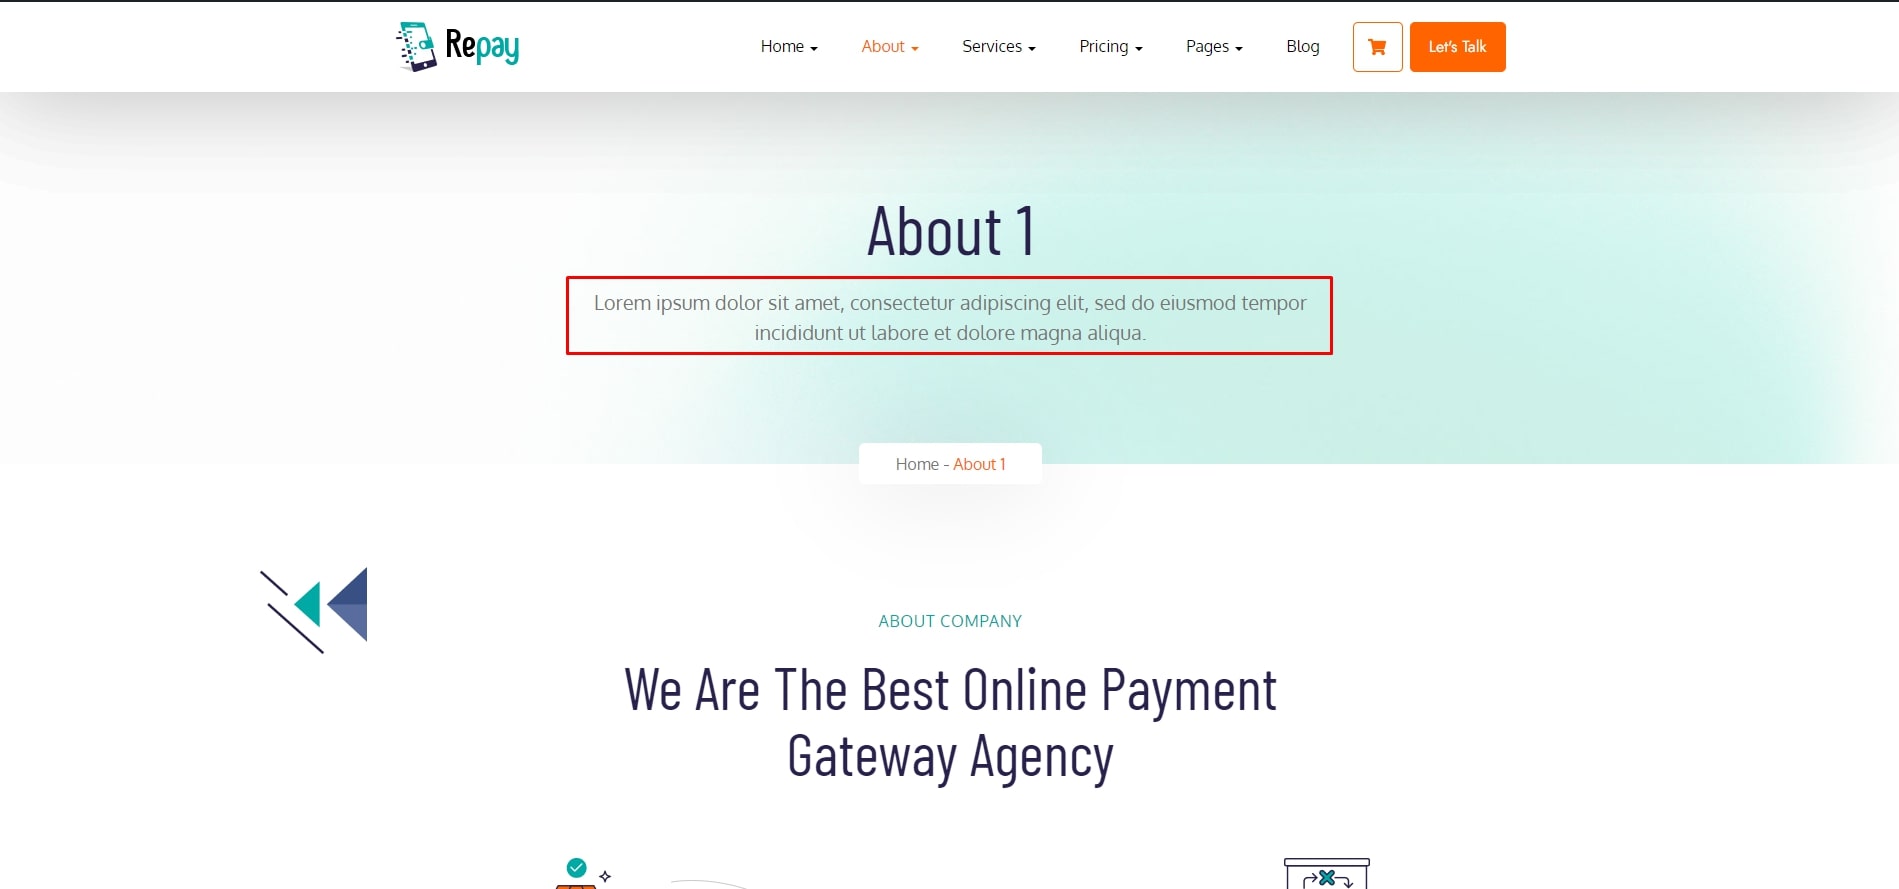
Banner
How To Change Sub-banner’s Background Image & Text:


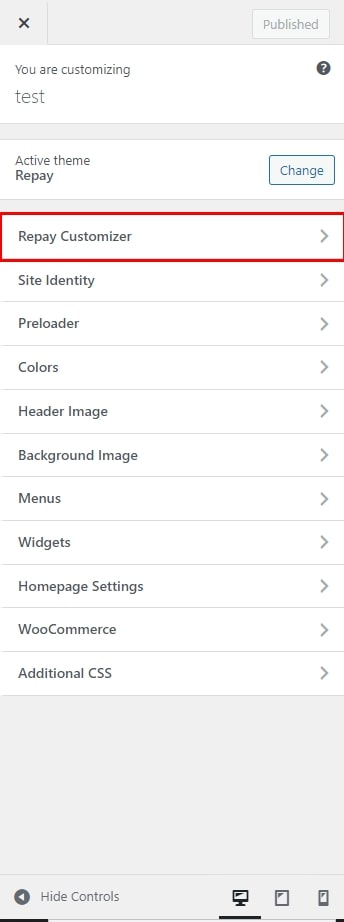
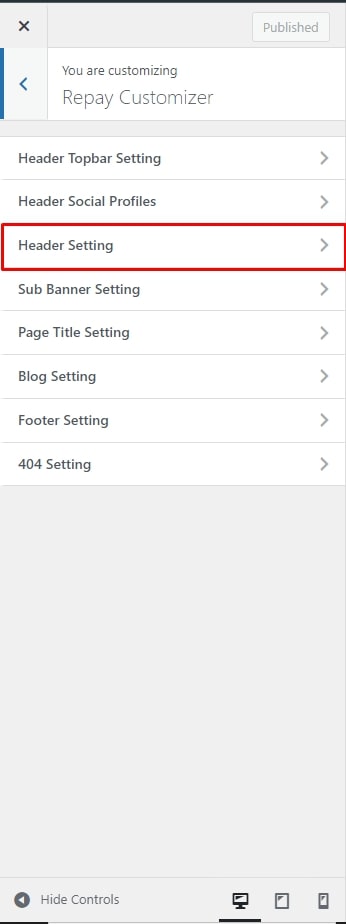
Site Configuration
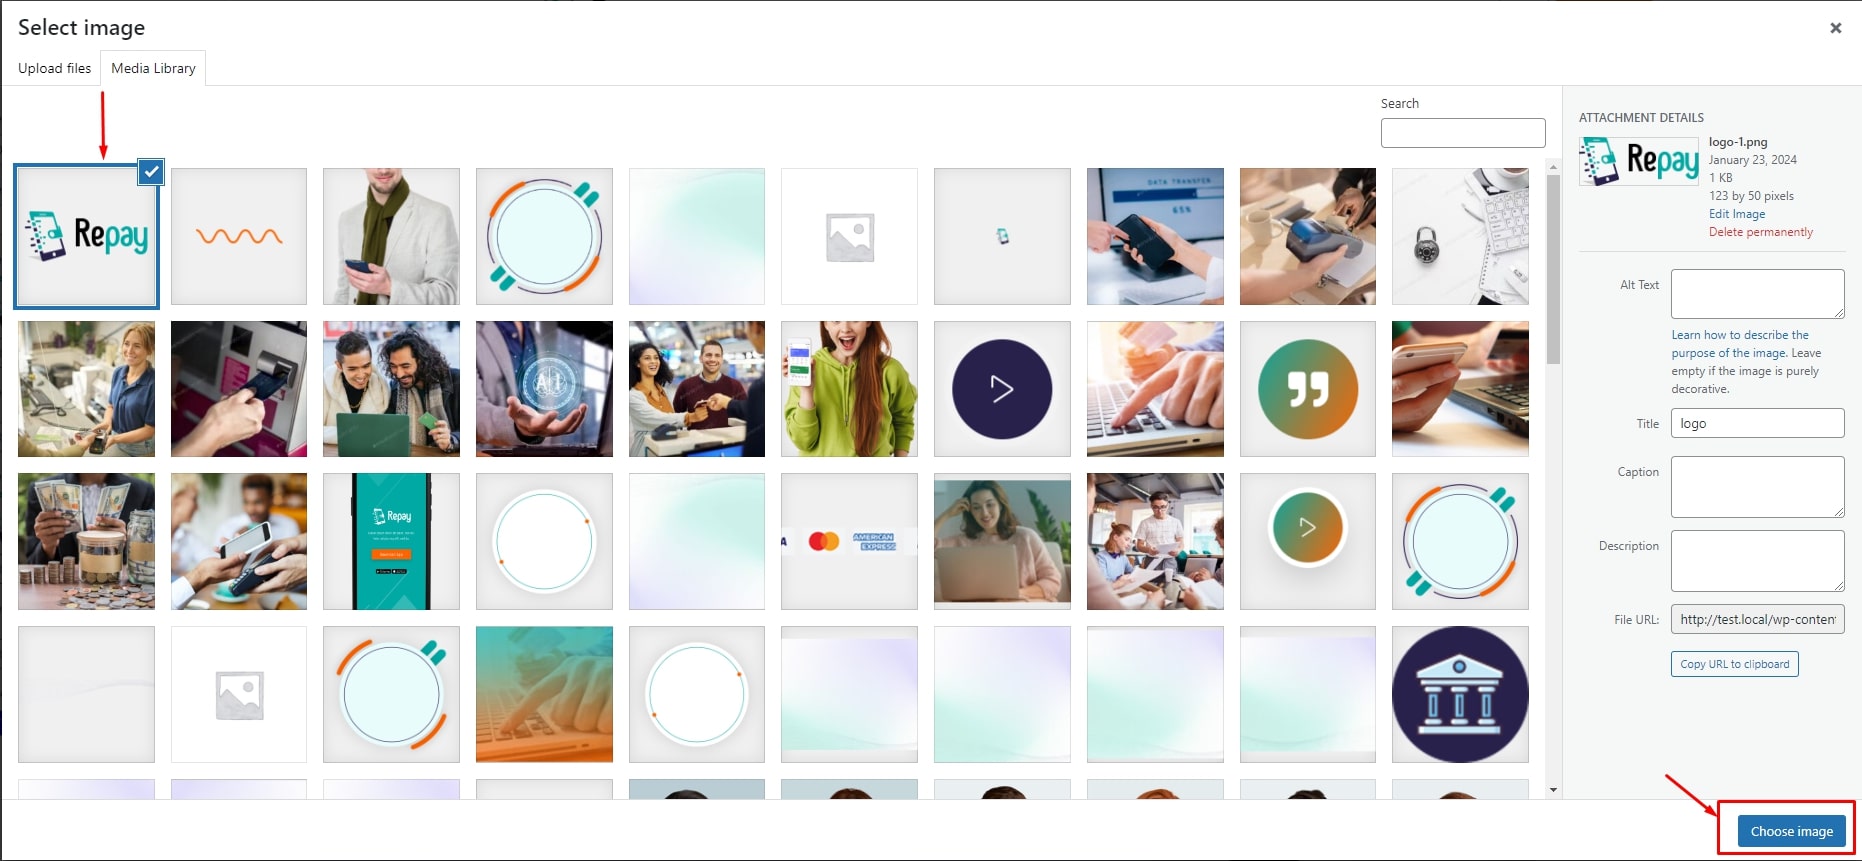
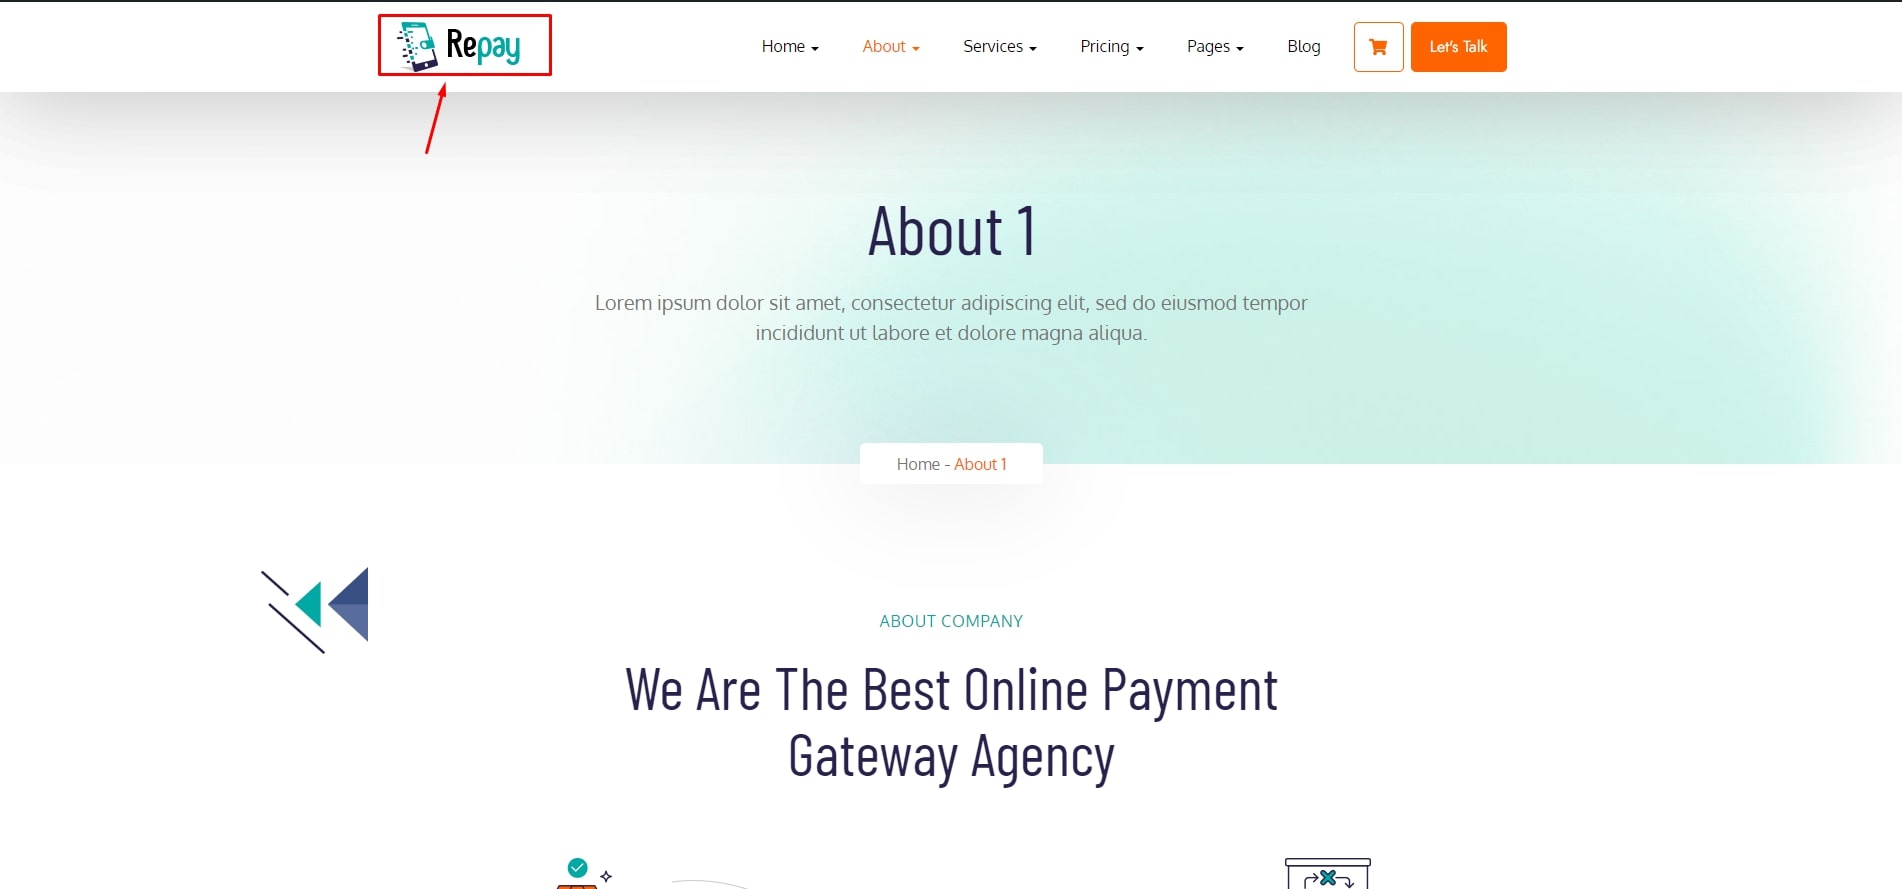
Logo & Page Title
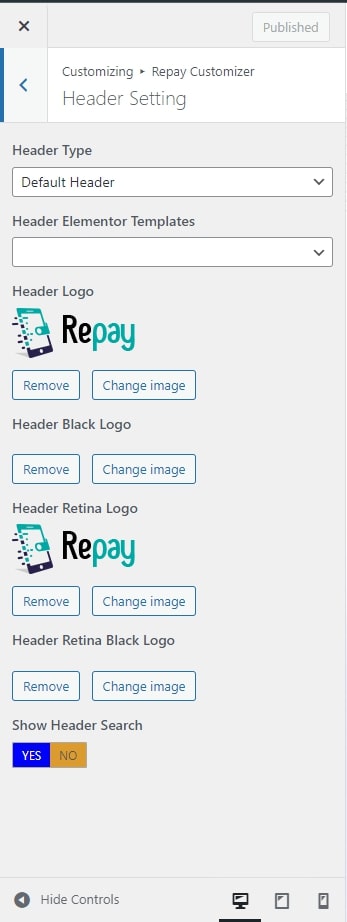
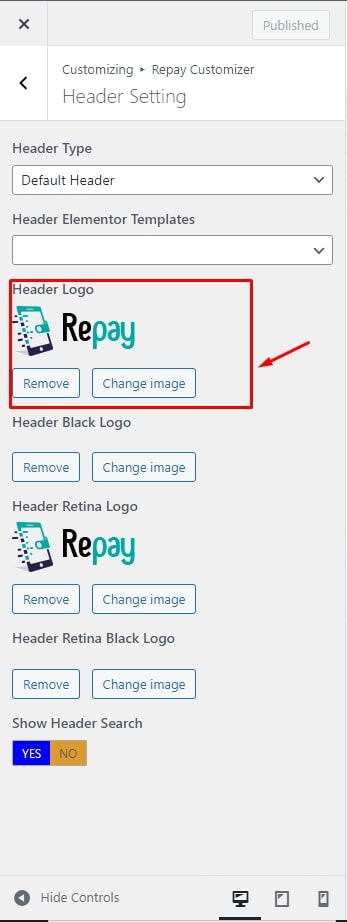
Retina Logos
To make your logos look crisp on Retina devices, simply upload a Retina logo to the corresponding upload fields.
Retina versions are twice as large as the original ones. For example, if your logo is 100px x 50px, the Retina version must be 200px x 100px.
Footer
There’re footer copyright text , social link, footer on/off , footer logo will be configured. All of them can be configured in Appearance → Customise → Repay Customizer → Footer

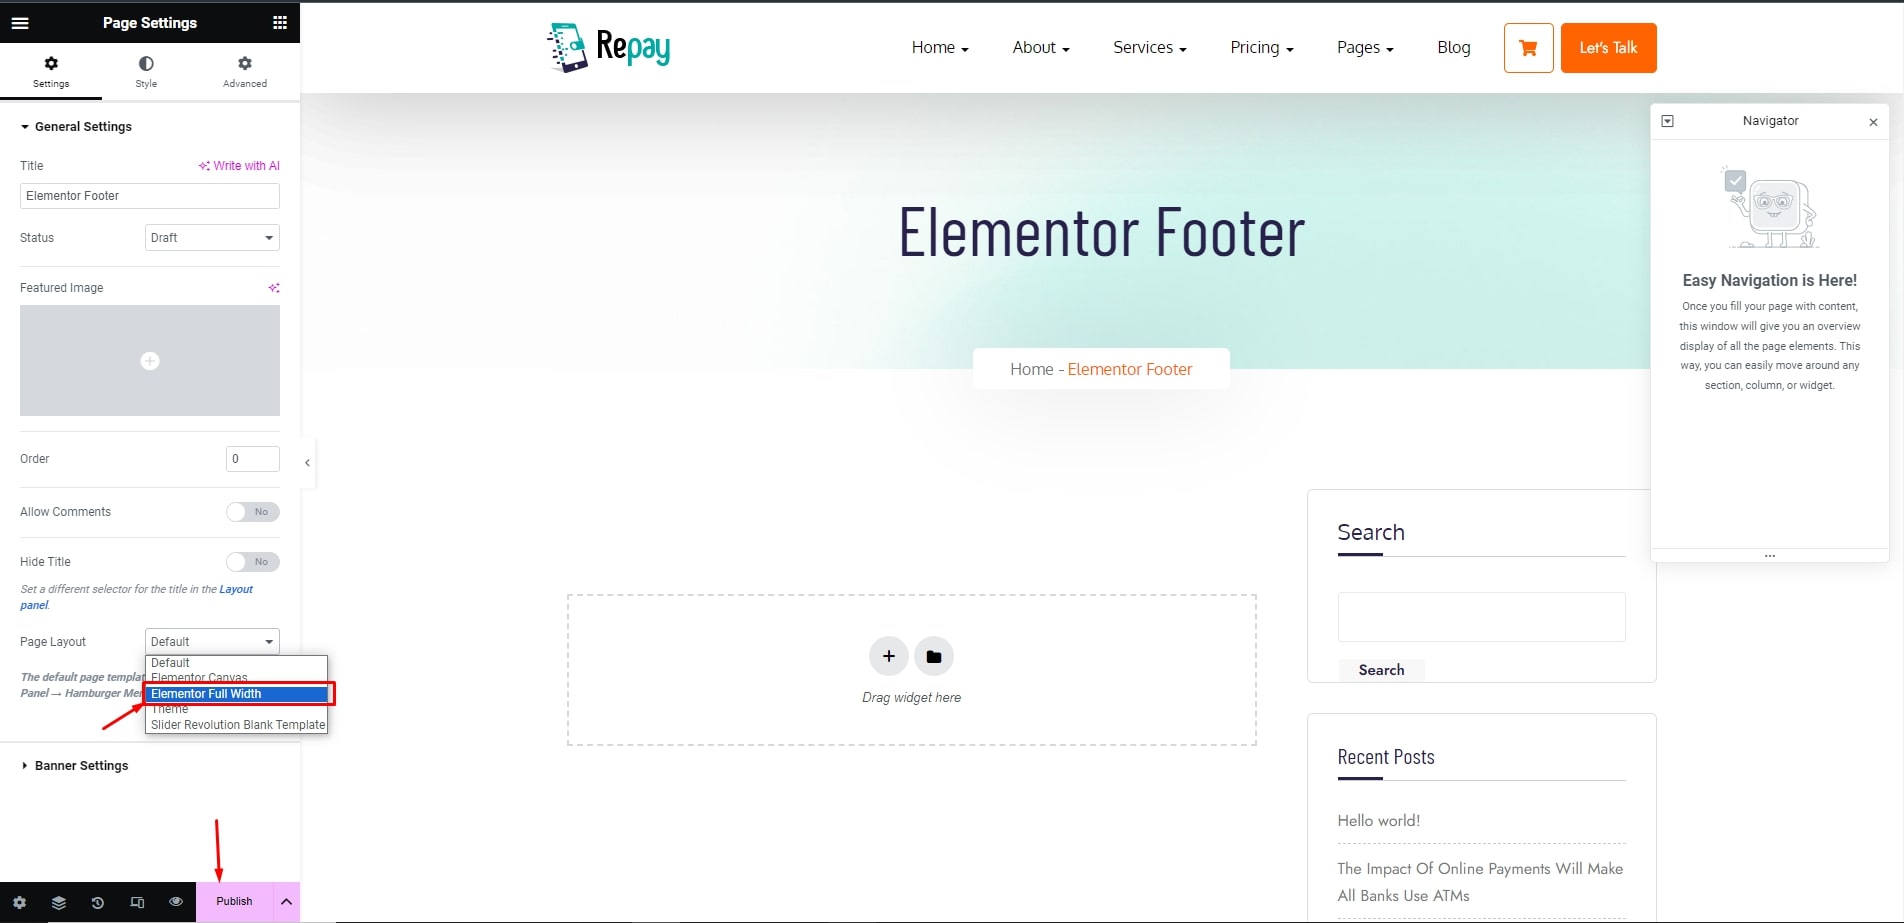
How to create and include new Footer:
Go to Pages > Add New > Edit with Elementor > Settings from here you have to select your page layout to Elementor Full Width.

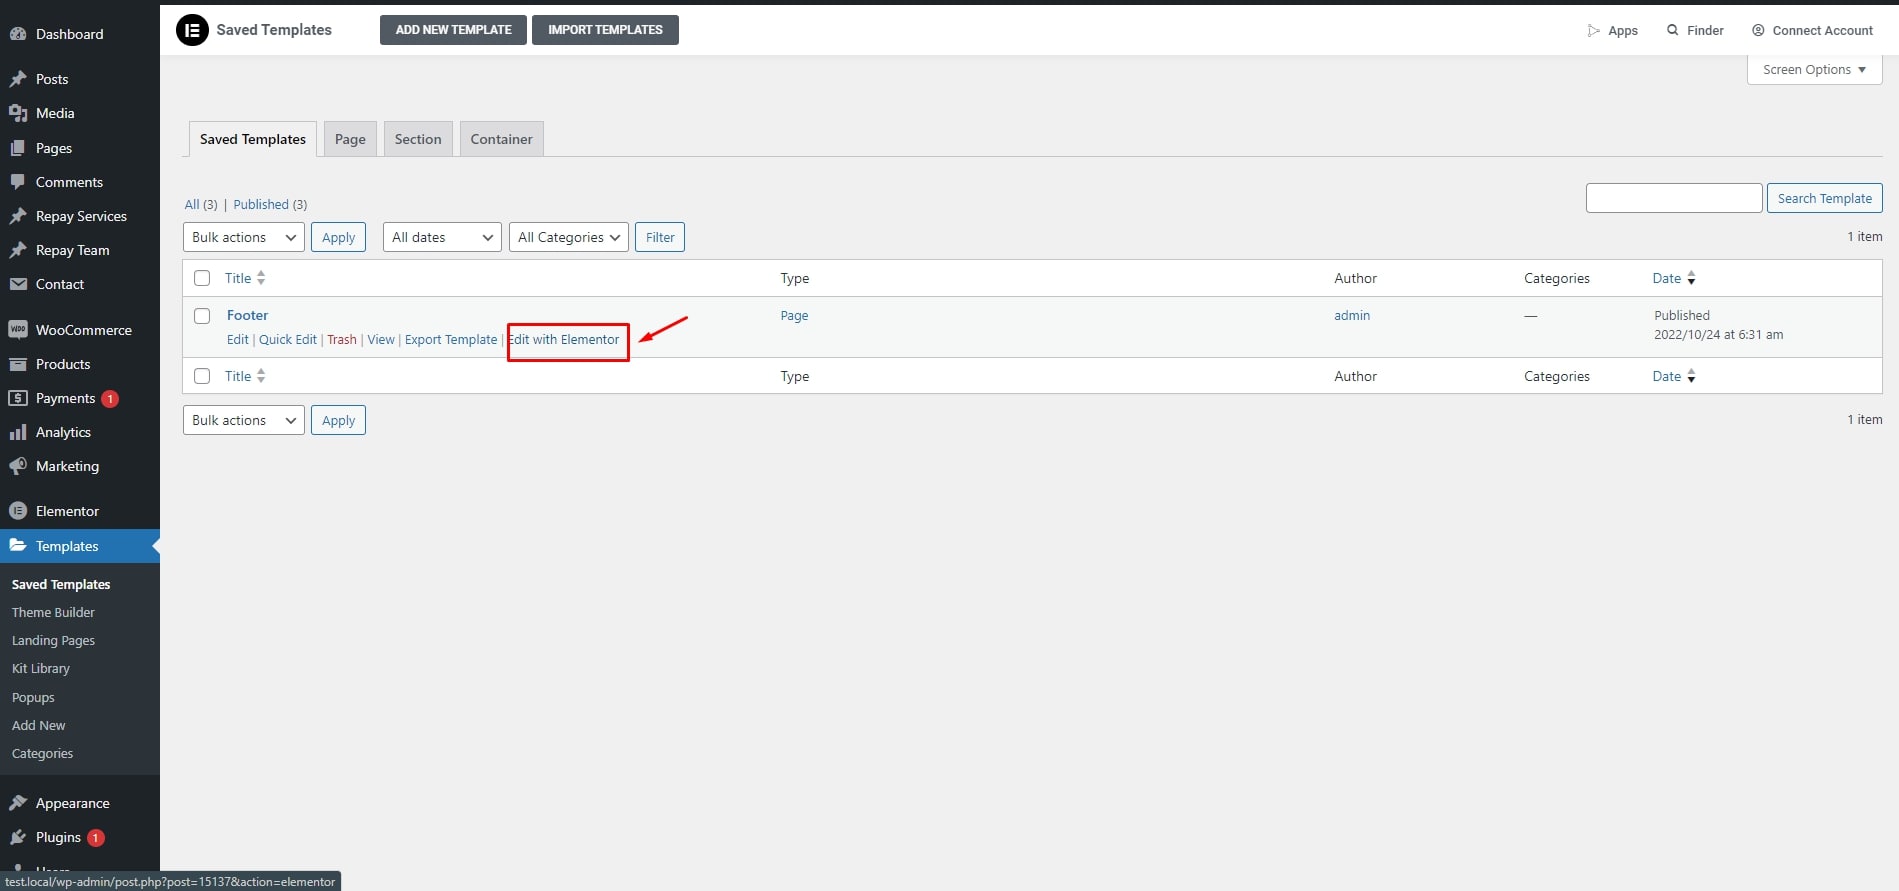
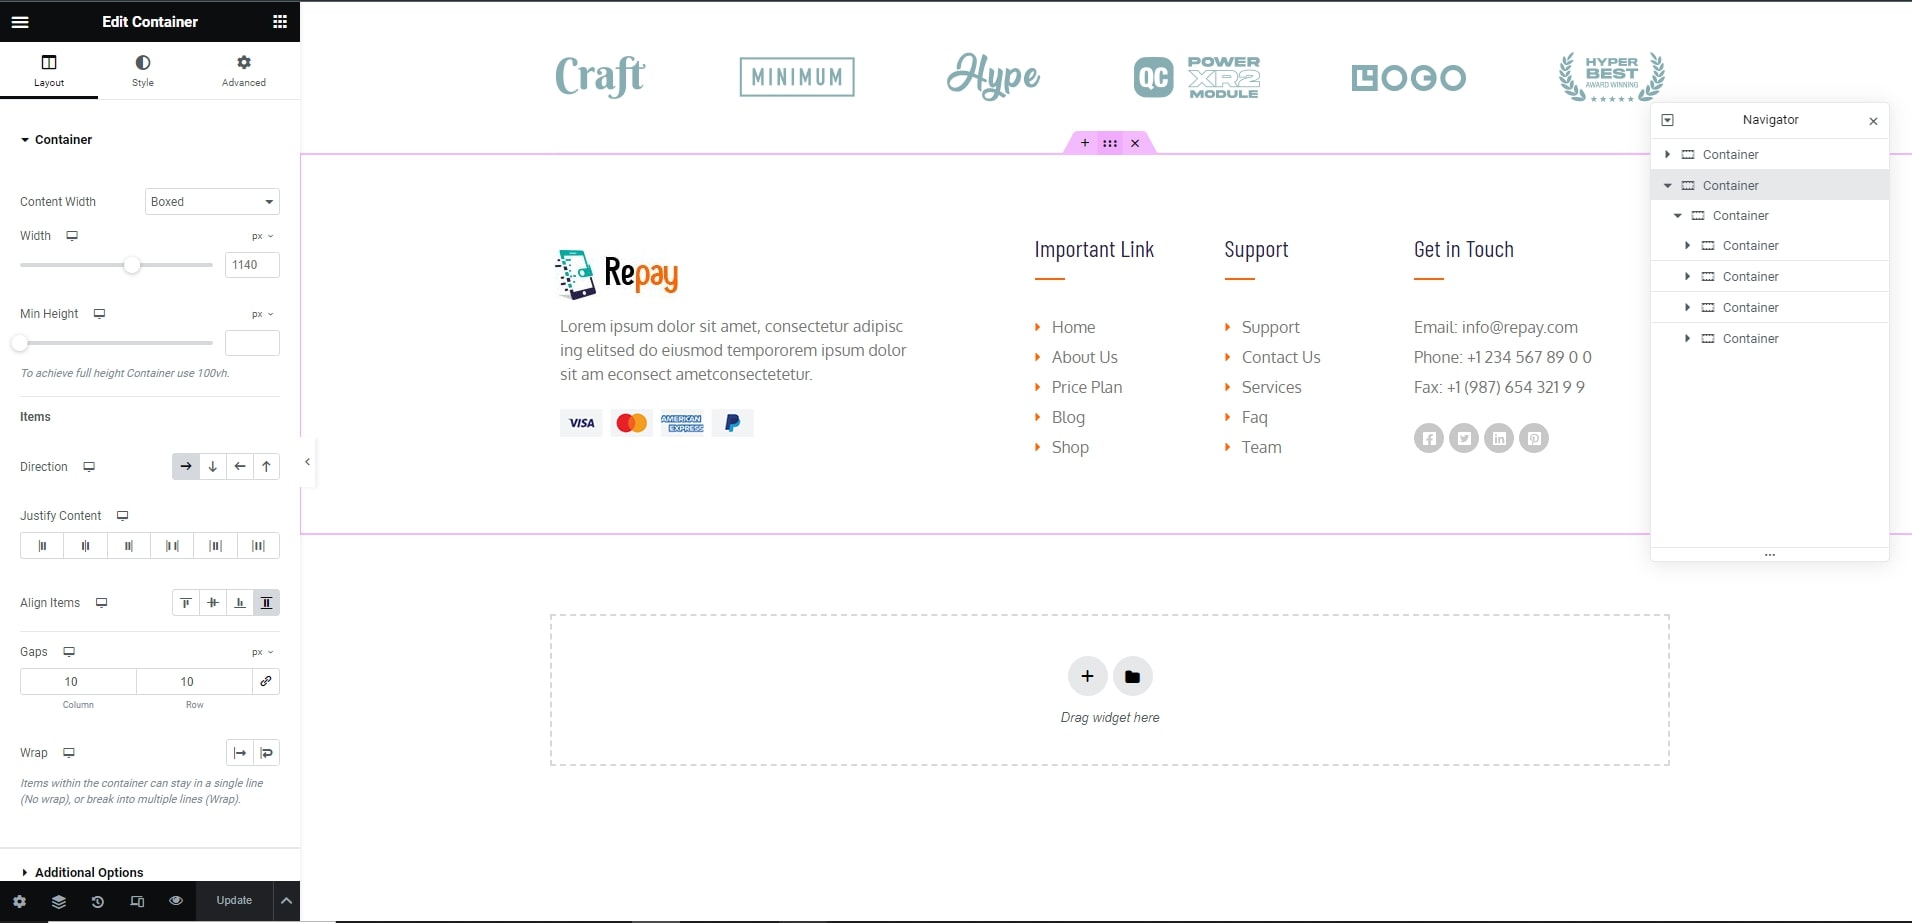
How to Edit Footer:
Go to Templates > Saved Template from here you have to select Edit with Elementor.

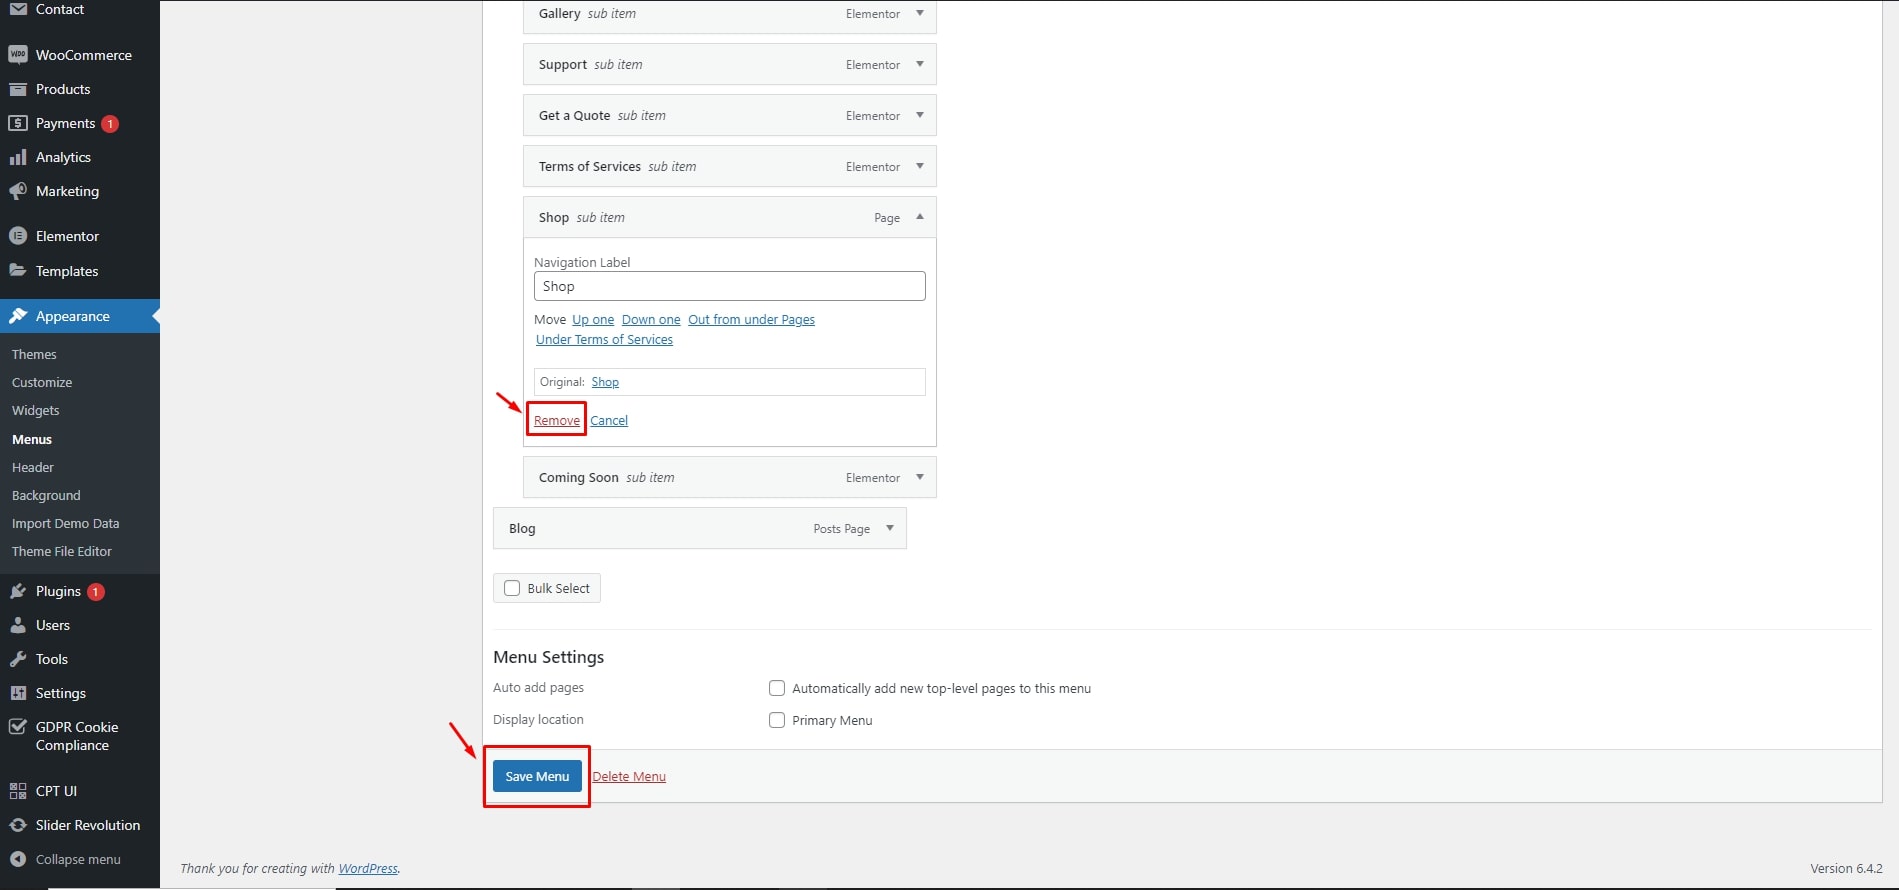
Navigation & Menus
Setting up Navigation Menus works normally as it does for any WordPress theme. If you’re new to WordPress, you can learn more about menus in the WordPress Codex article.
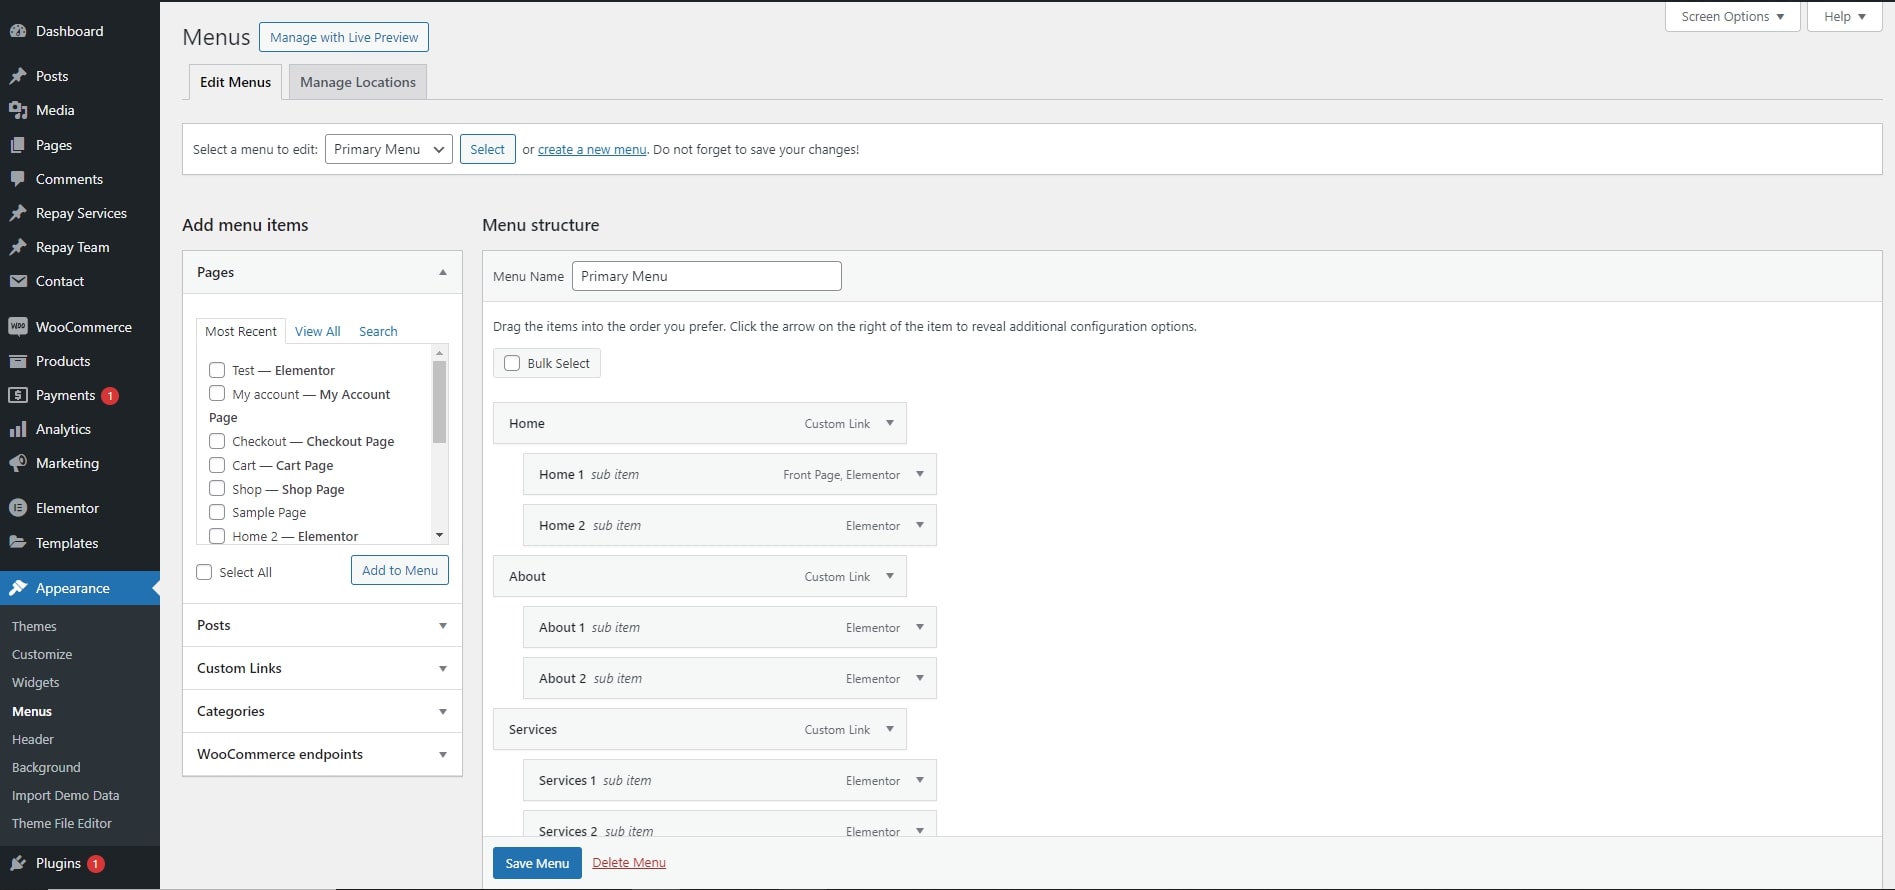
- Go to Appearance → Menus in your admin sidebar and click Create a new menu option.
- Select Create a new menu at the top of the page
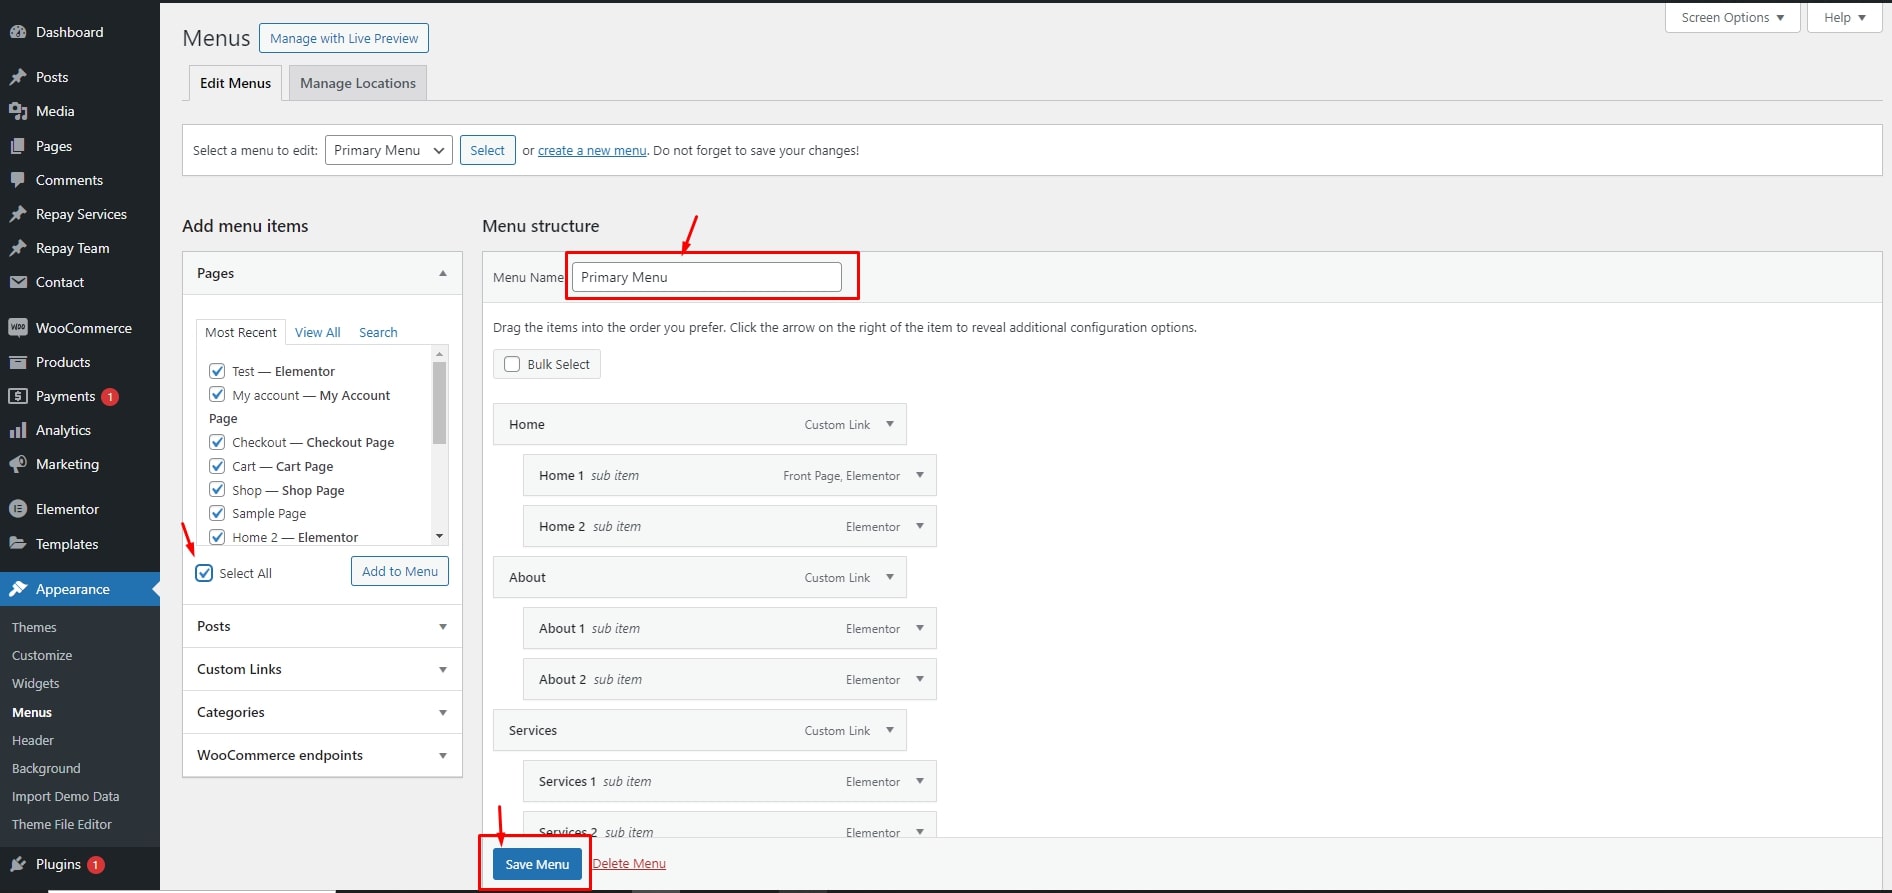
- Choose menu items you want to add from the left and hit Add to Menu. Then hit Save Menu.
- Using the Custom Links and Pages boxes at the left, add items to the menu and drag and drop to arrange them.
- If you would like to use this menu in the primary navigation of the theme, scroll down to the Menu Settings area, enable the checkbox next to the Main Menu menu locations.
- Click Save Menu and that is all.


Contact Form
Contact Form Setup
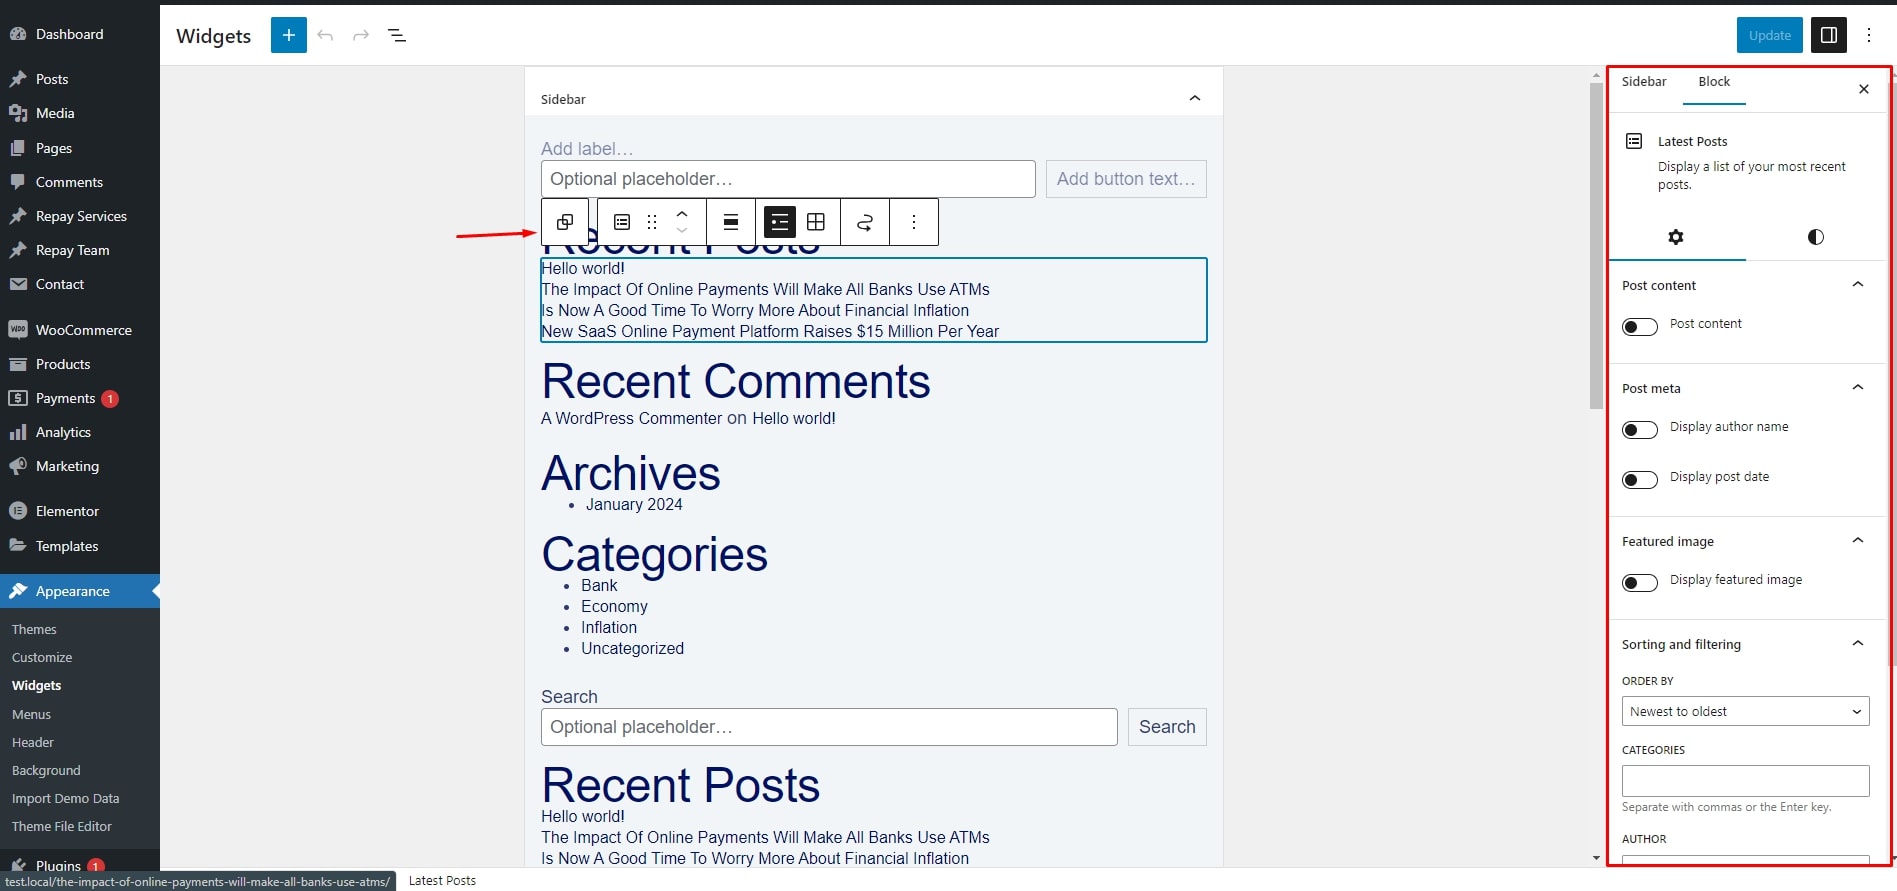
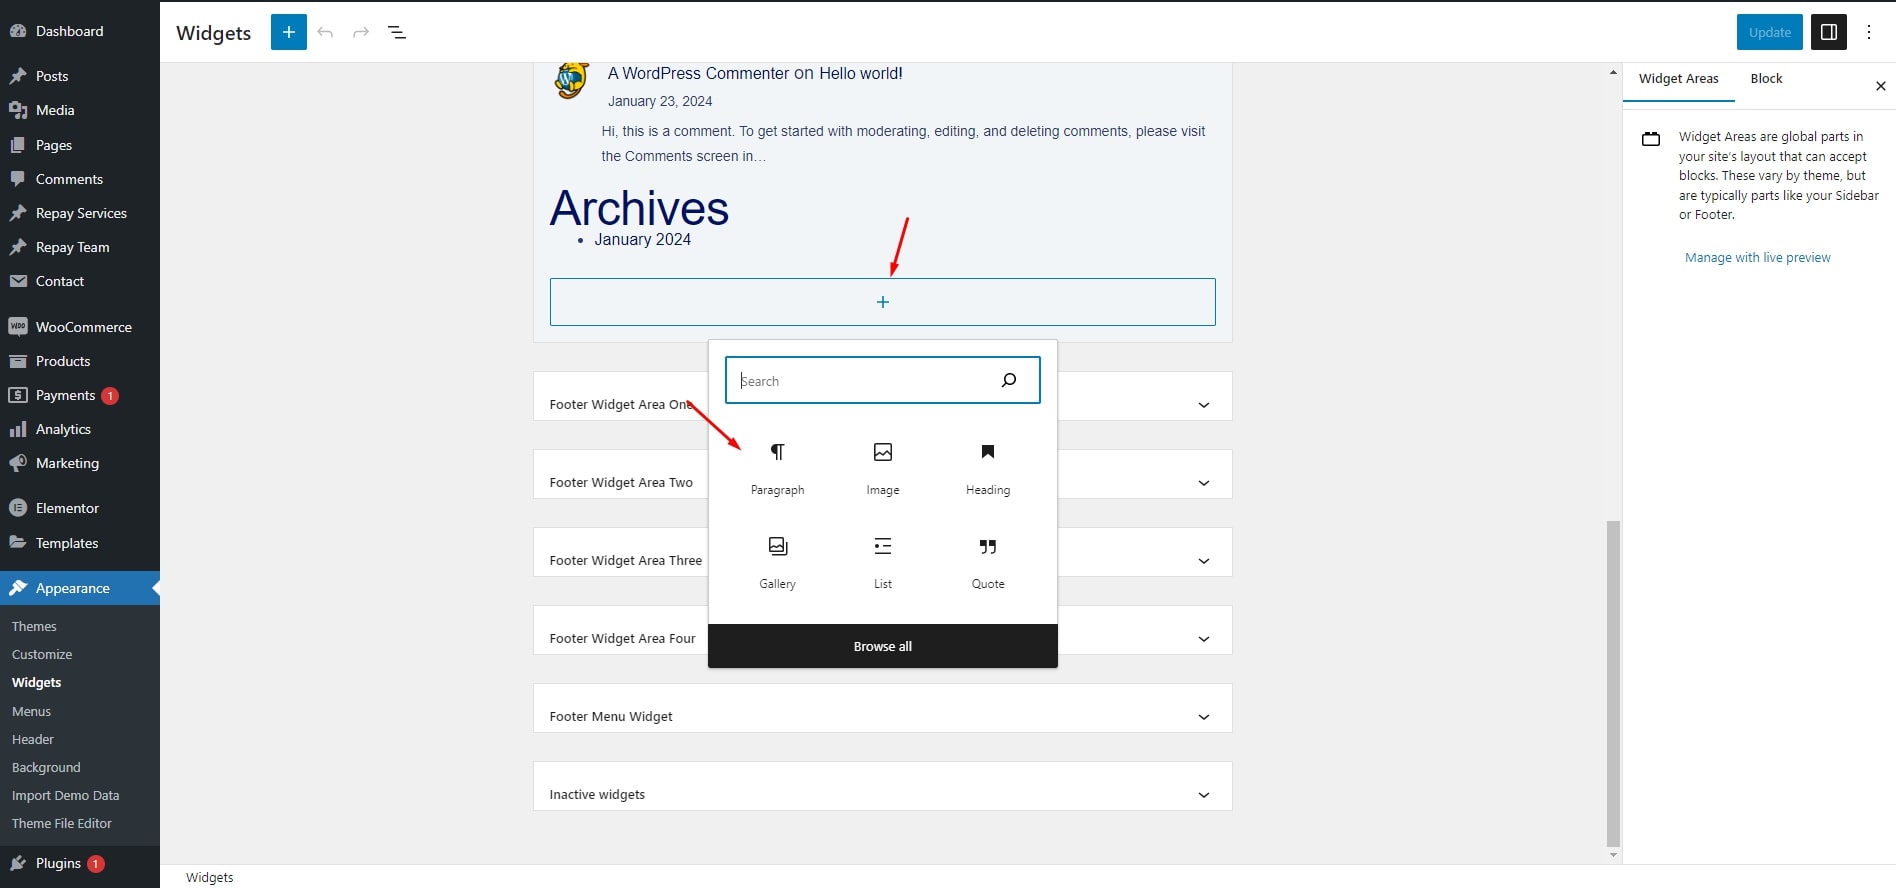
Widgets
How to add widgets in sidebar

How to edit Widgets
Elementor Widgets
Team Widget


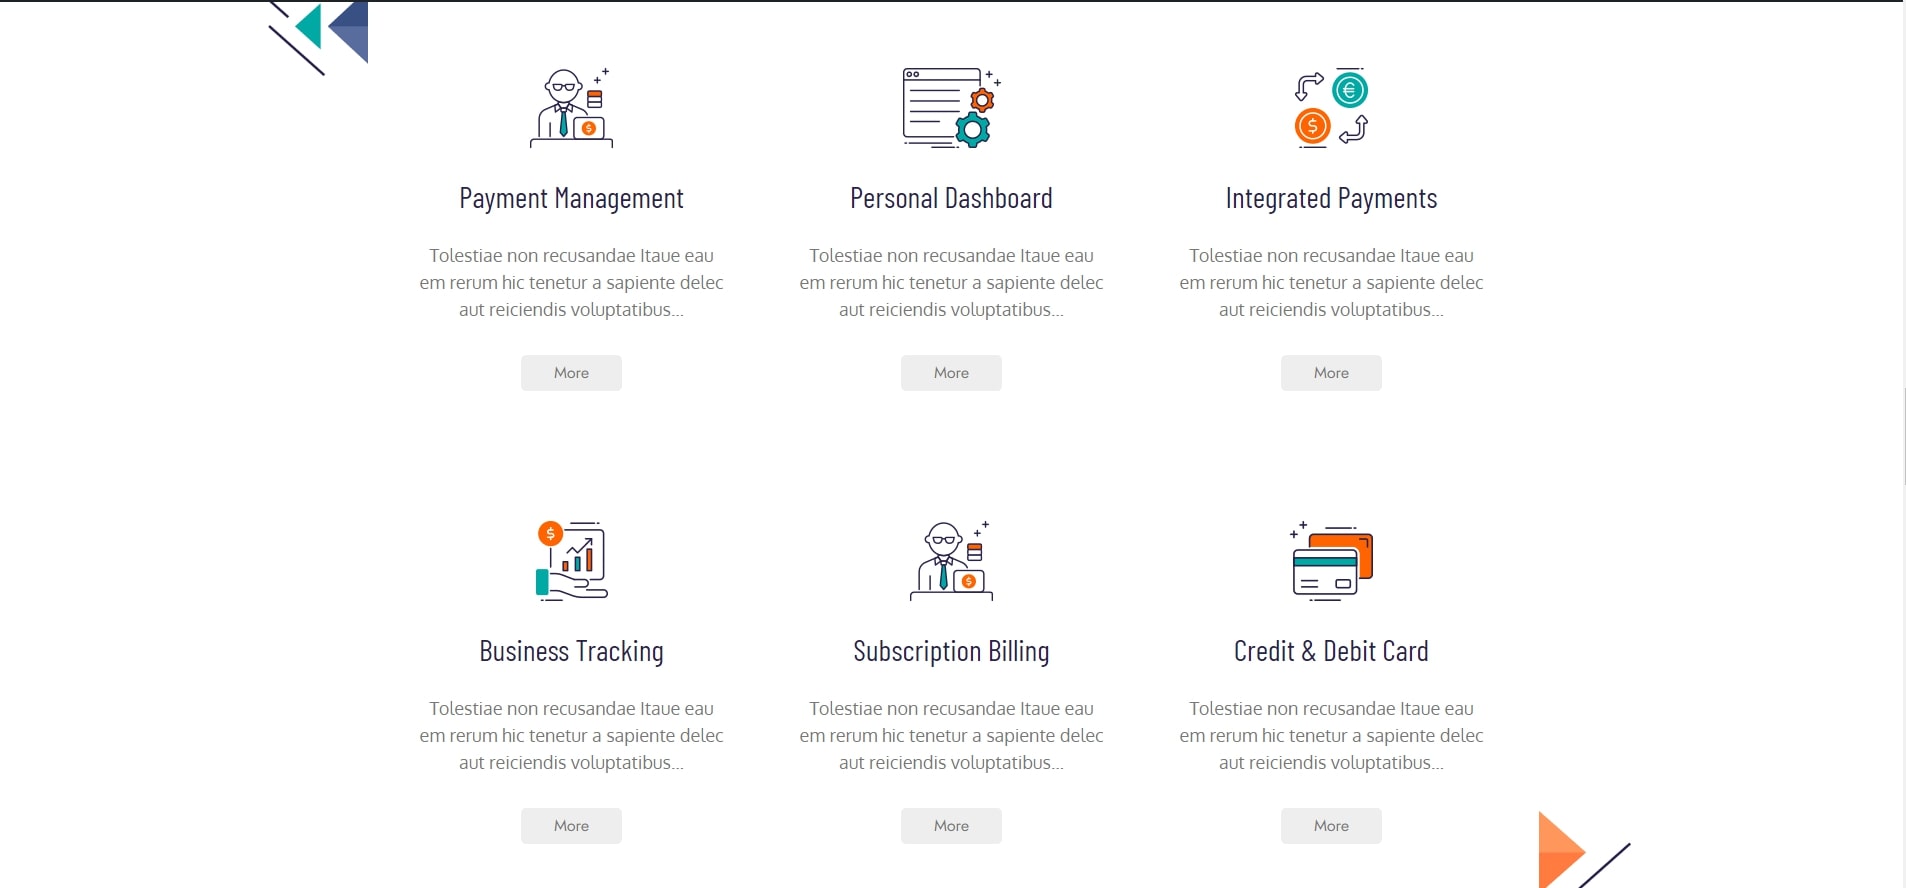
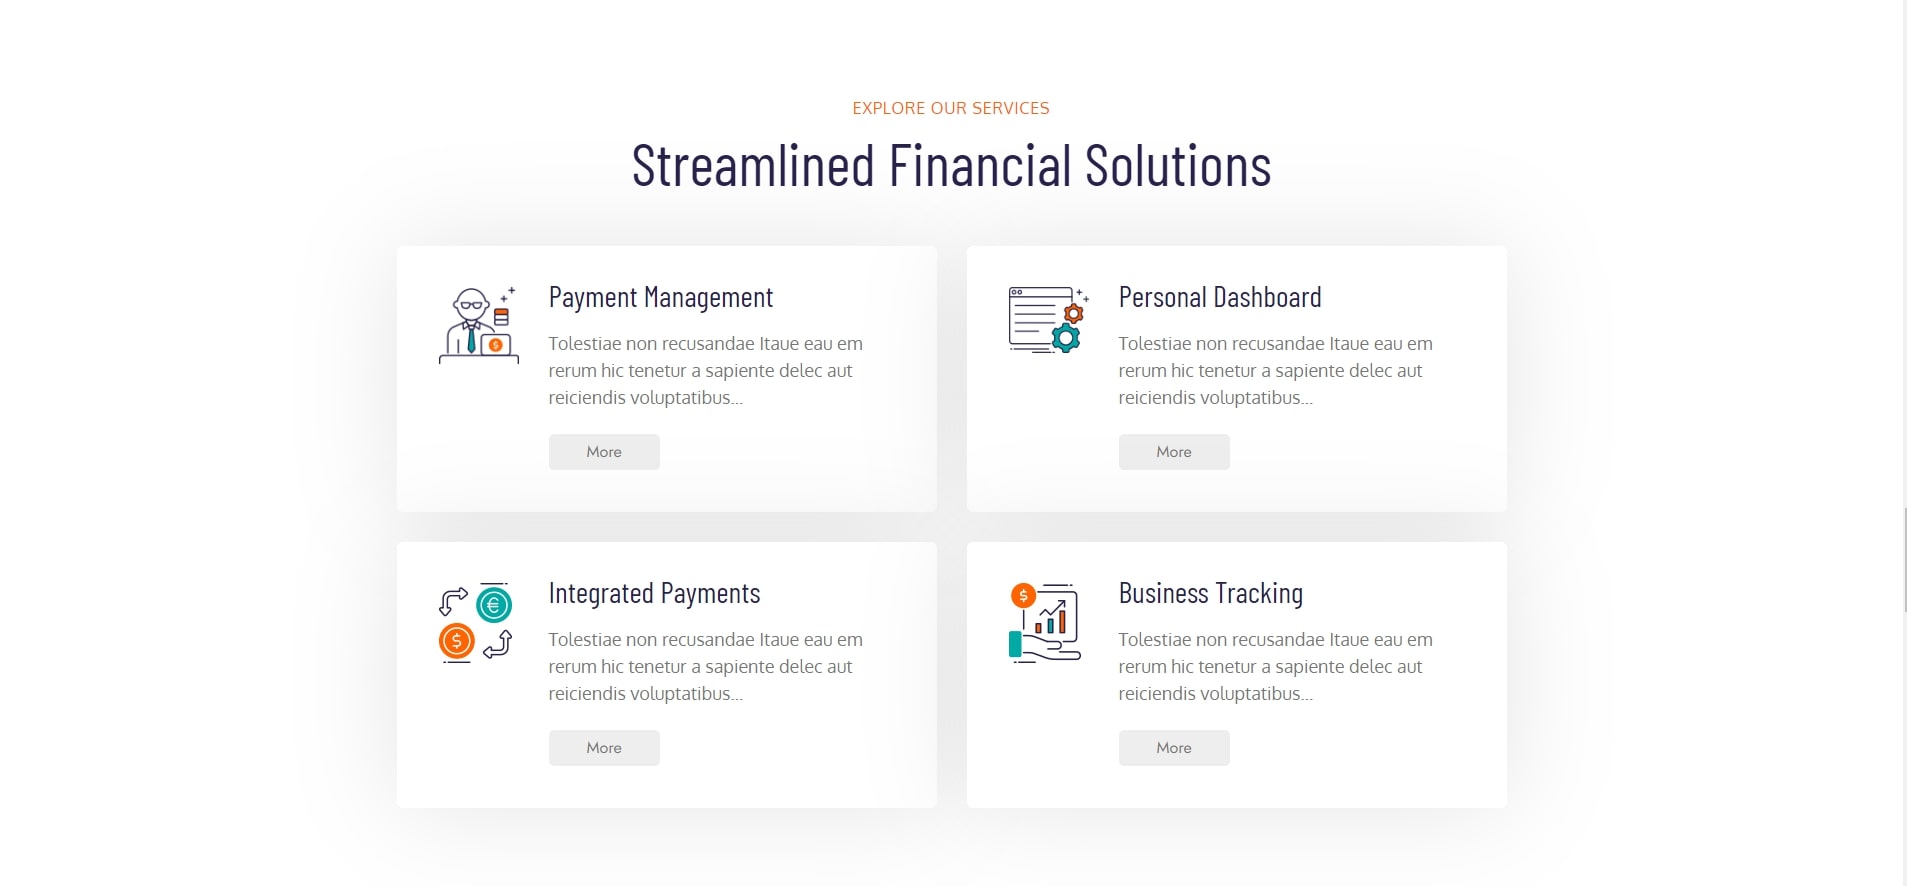
Elementor Services Post Widget


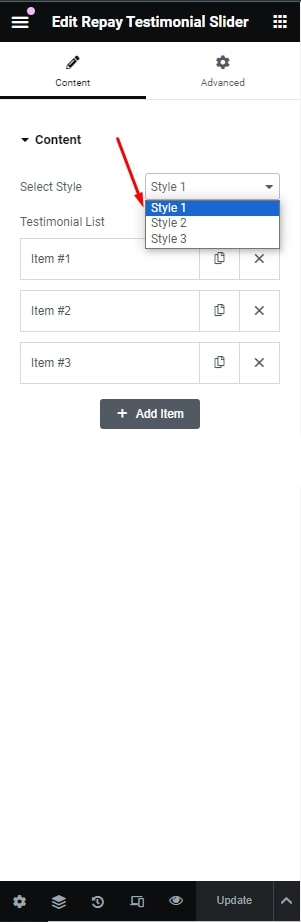
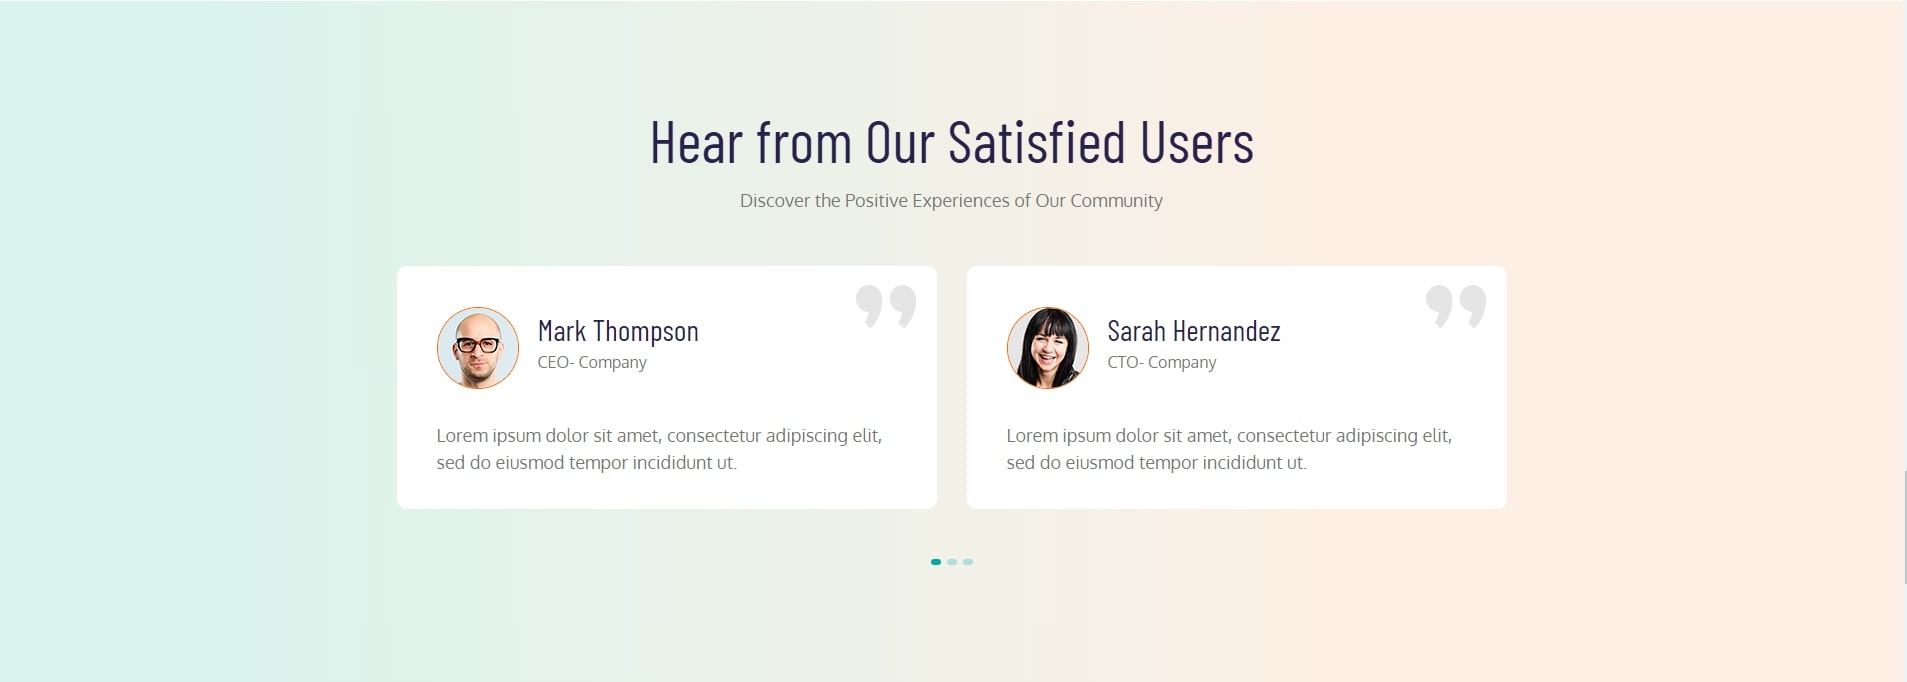
Testimonial Slider Widget


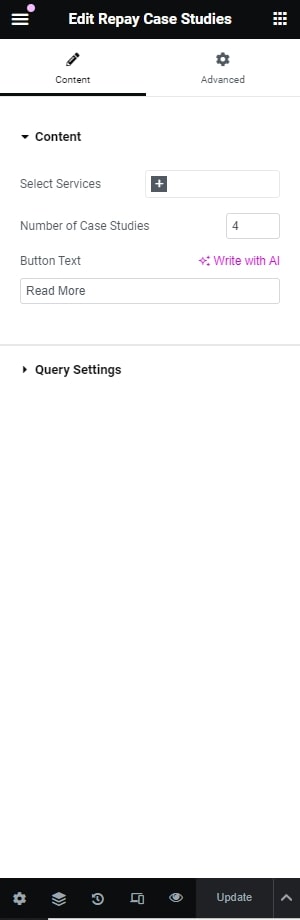
Case Studies Widget


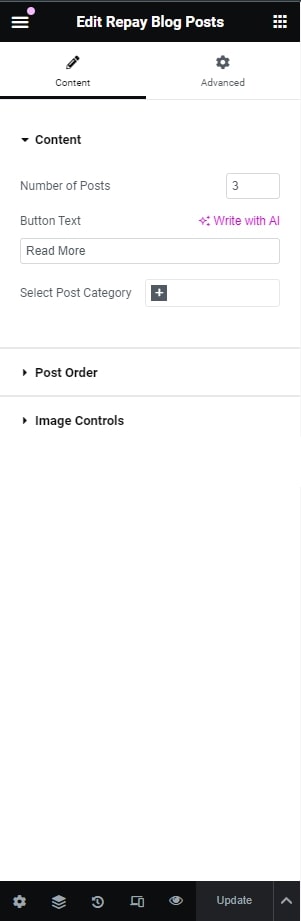
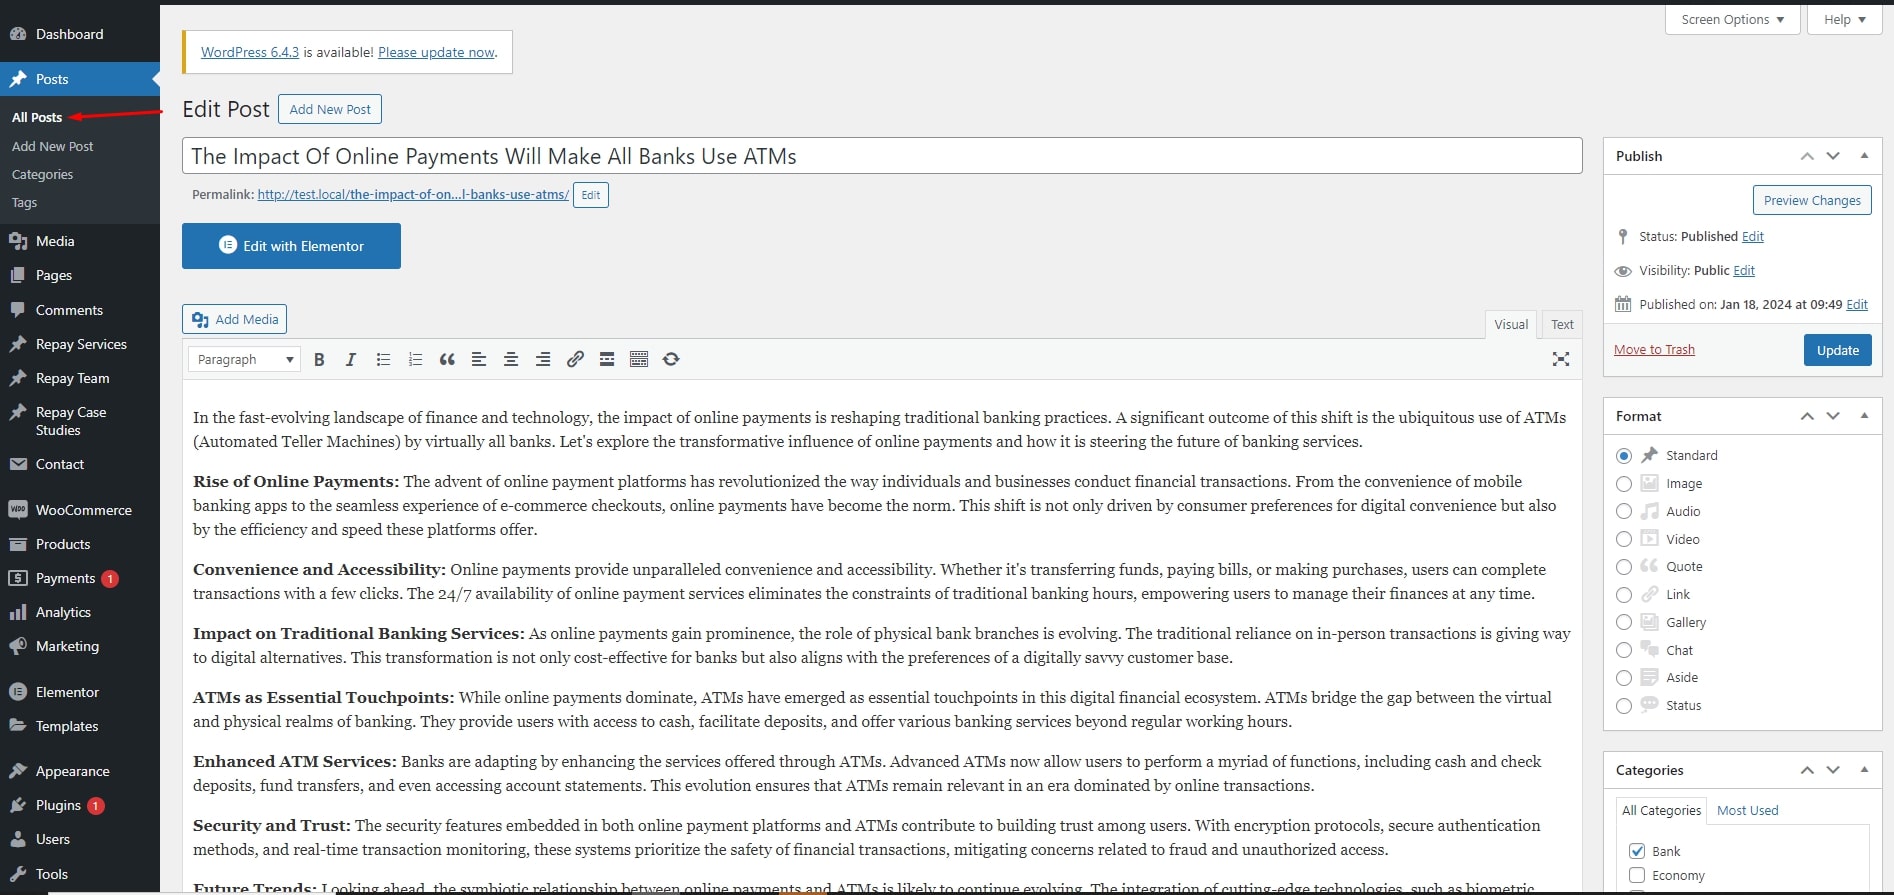
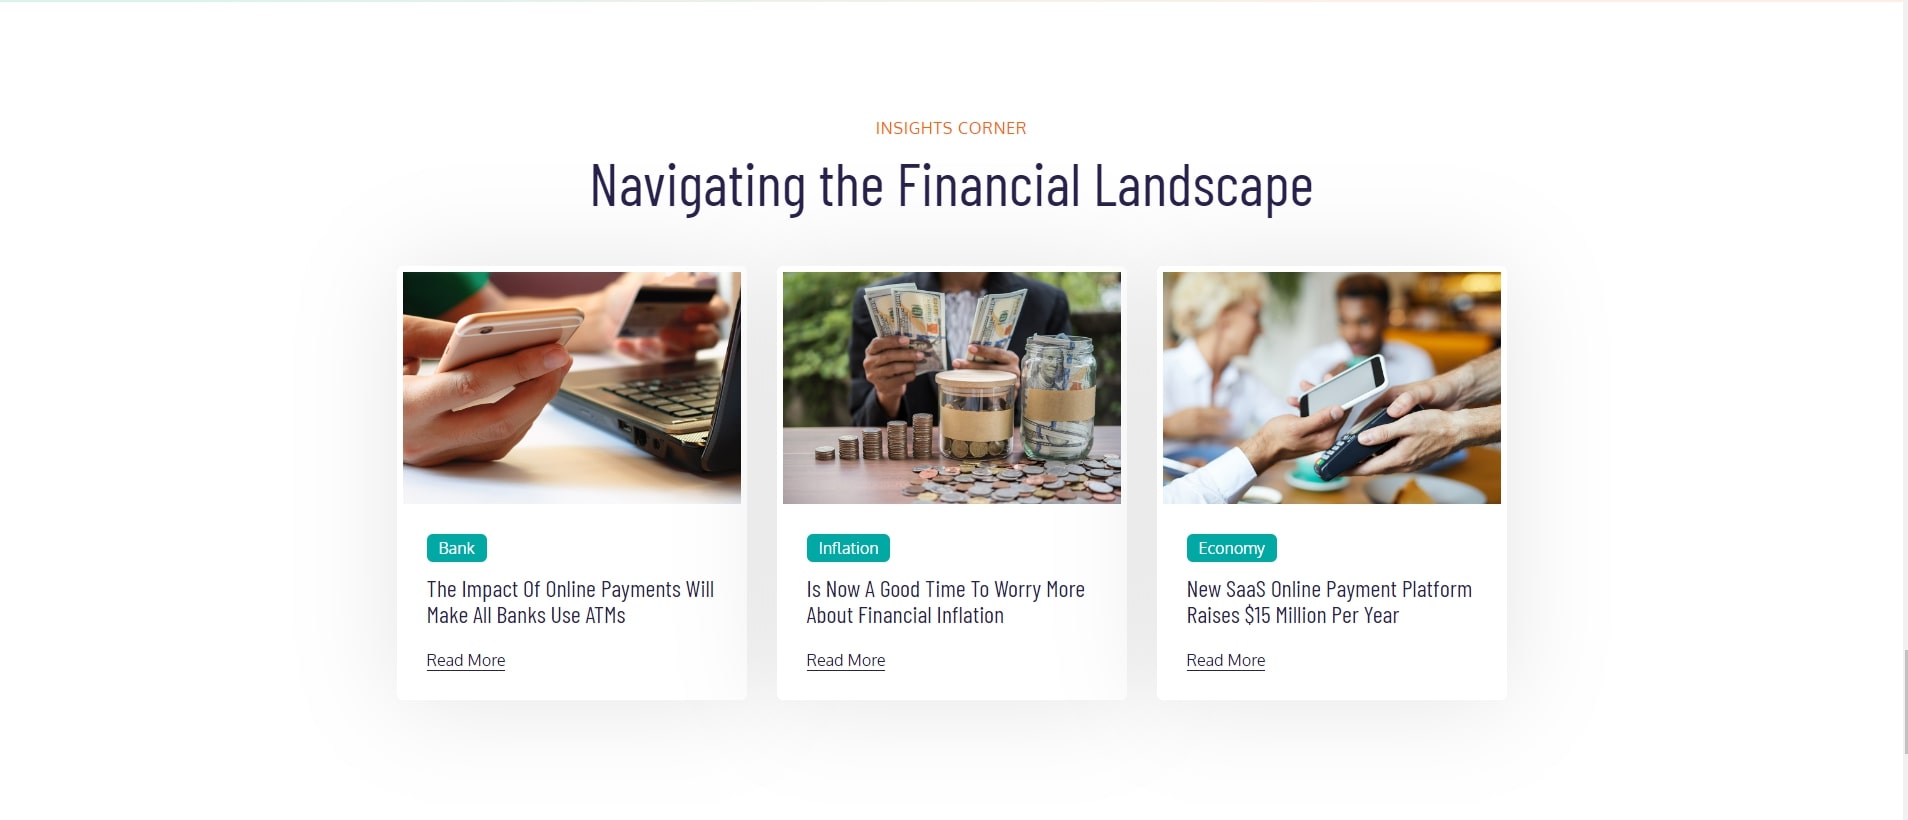
Blog Post Widget